Learn the specifics for setting up your campaign to maximize participation and successfully guide your community of storytellers!
Step 1: Getting Started
Click the Campaigns tab at the top of your screen.

Then select Create Campaign to begin building your new campaign.

Step 2: Design Your Campaign
First, enter in your Campaign Name and Description.
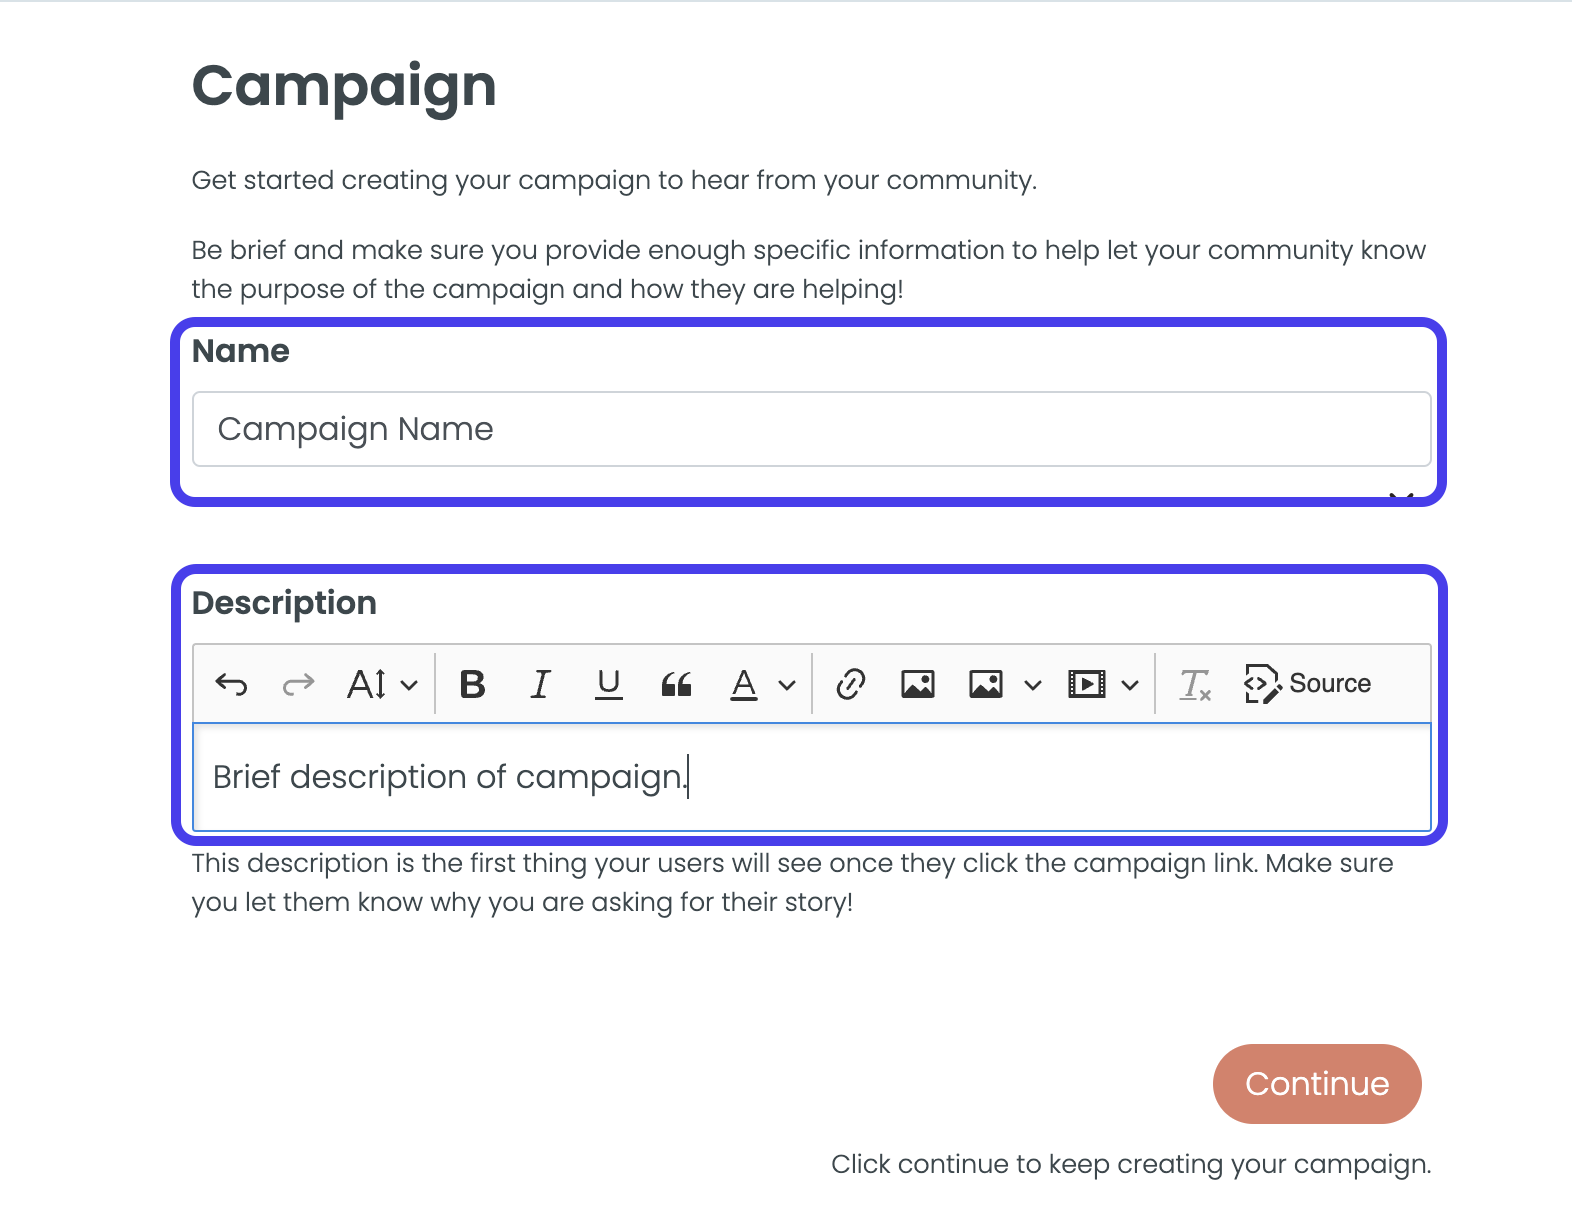
Fox Tip: The Campaign Name and Description will be the first thing your community will see. Be sure to let them know why you are asking for their story and why their story is important!
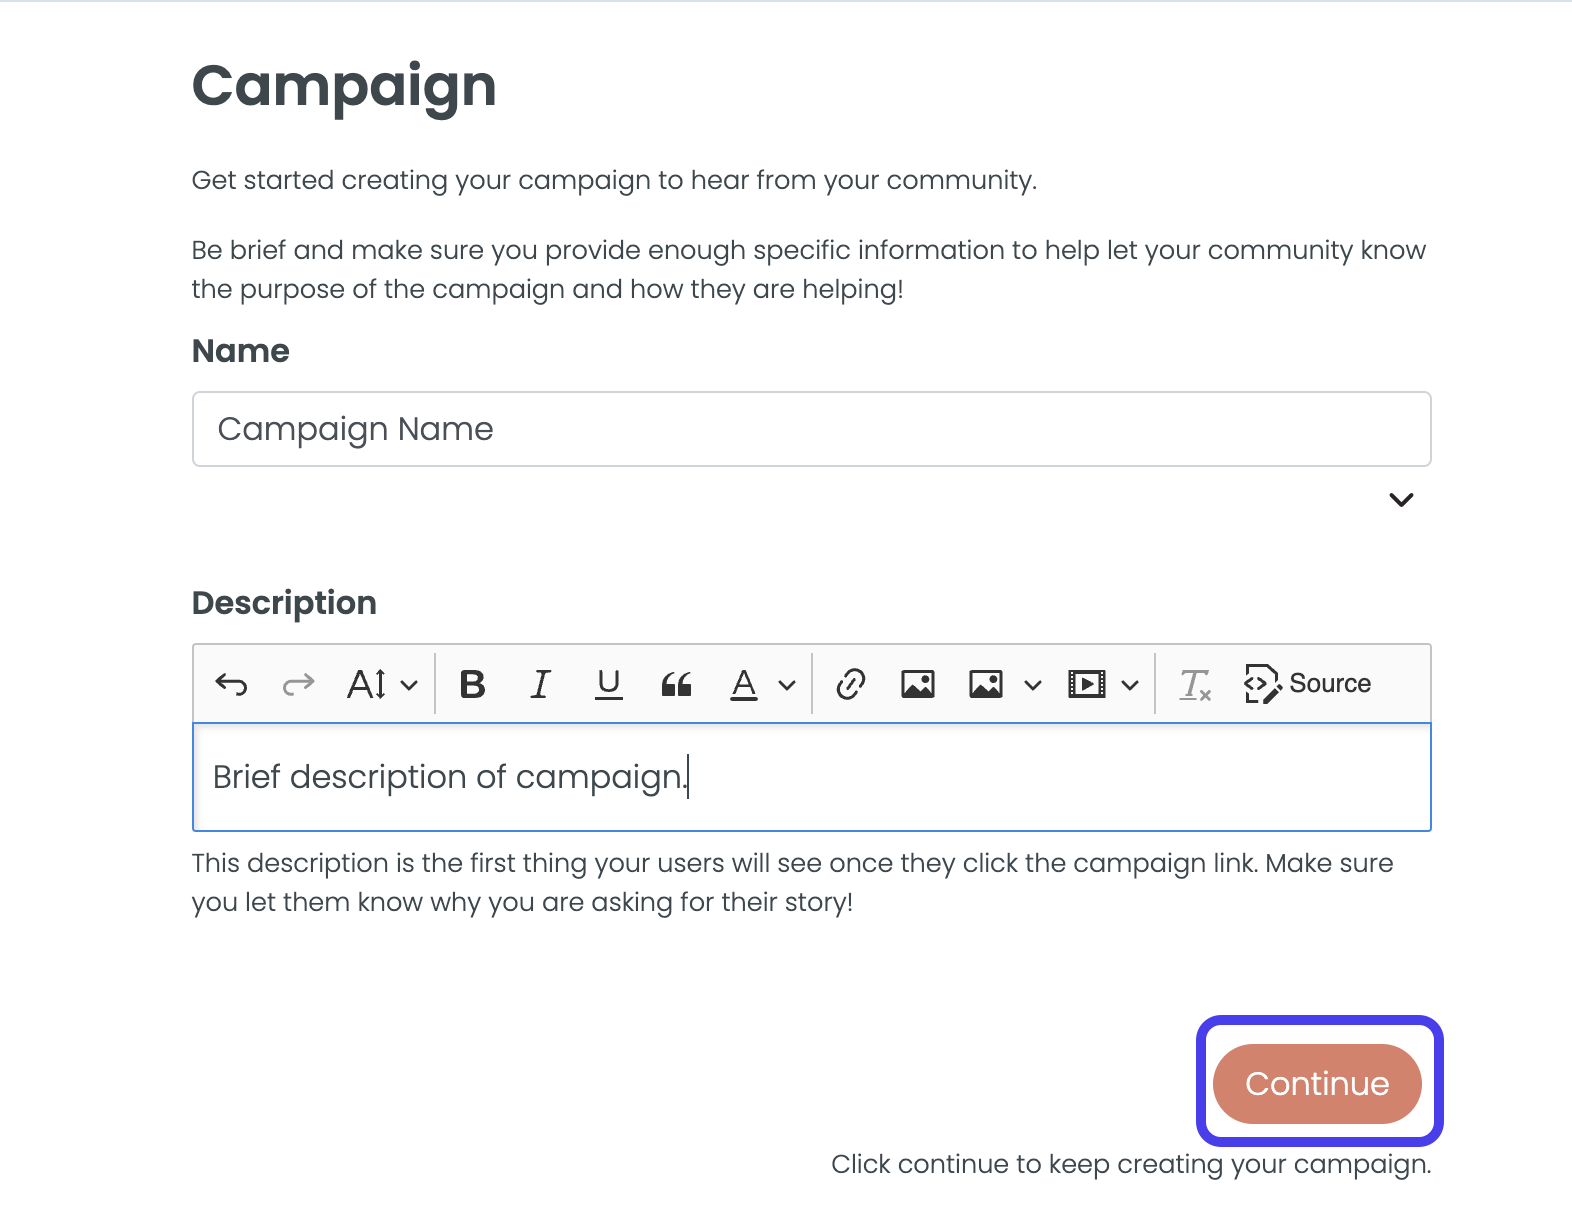
Click Continue to move on to the next section.
Step 3: Selecting User Fields & Creating Custom User Fields
Think of User Fields as the user information you would like to collect as part of your campaign. Maybe you want the user’s full name and email or maybe what program the user participated in – the possibilities are endless.
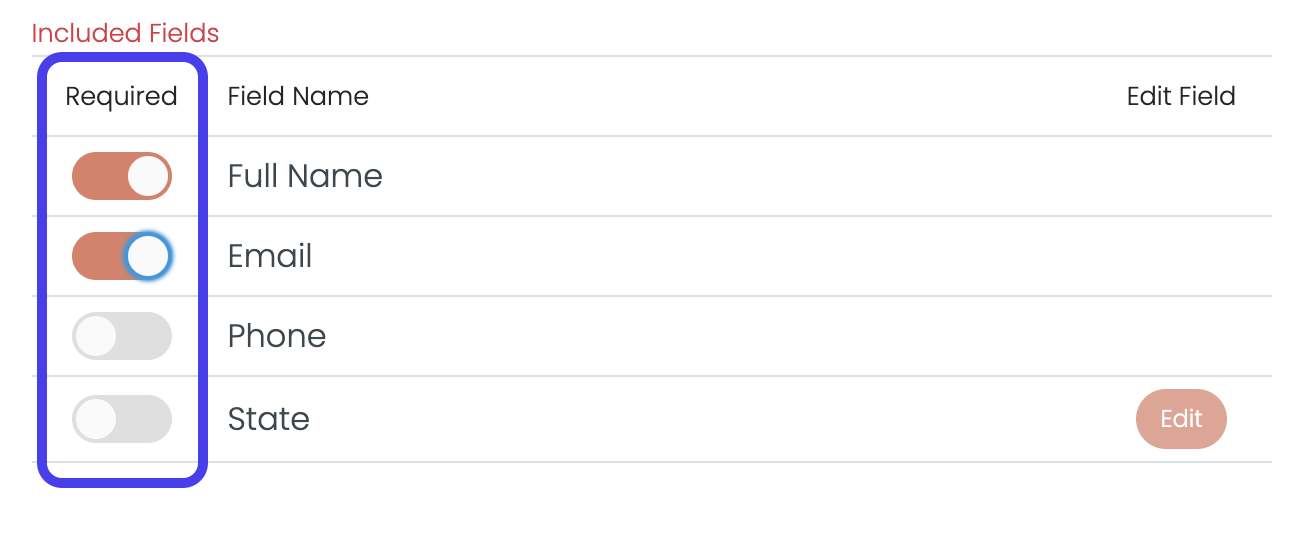
Each new campaign automatically lists three (3) default user fields: Full Name, Email, and Phone.
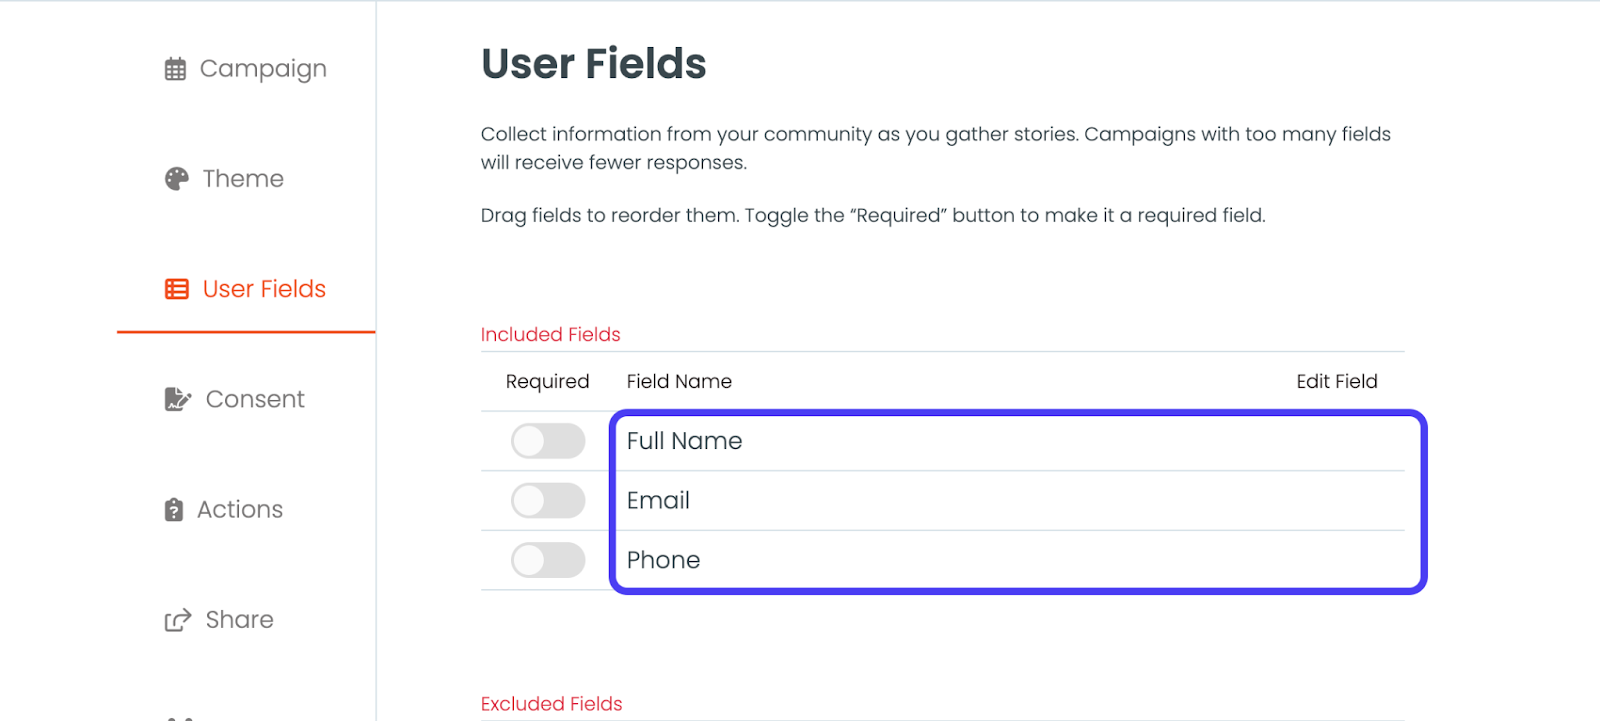
Fox Tip: You can tell which User Fields are the default options because they lack the Edit button on the right side. We recommend using these User Fields when appropriate since they provide the ability to search a piece of content by the user’s full name in the Story Bank.
Click and drag your desired User Fields from the Excluded Fields list to the Included Fields list at the top.
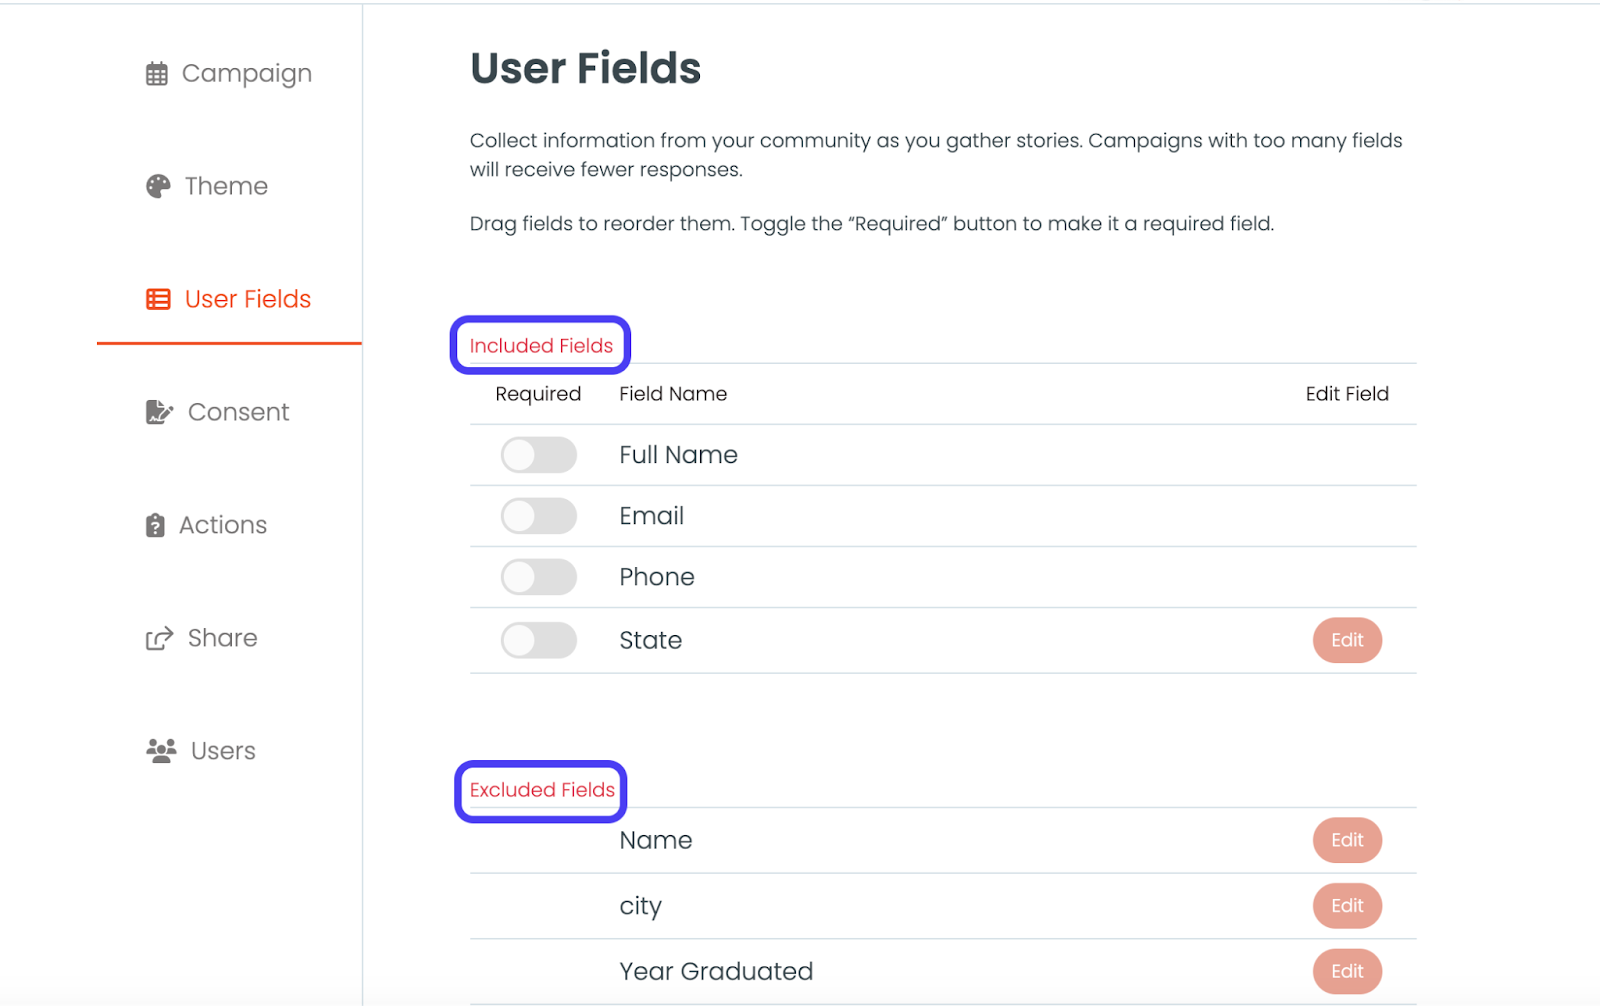
Once you have added your desired User Fields to the Included Fields section, use the Required toggle to mark the information you’d like to be required from your users.
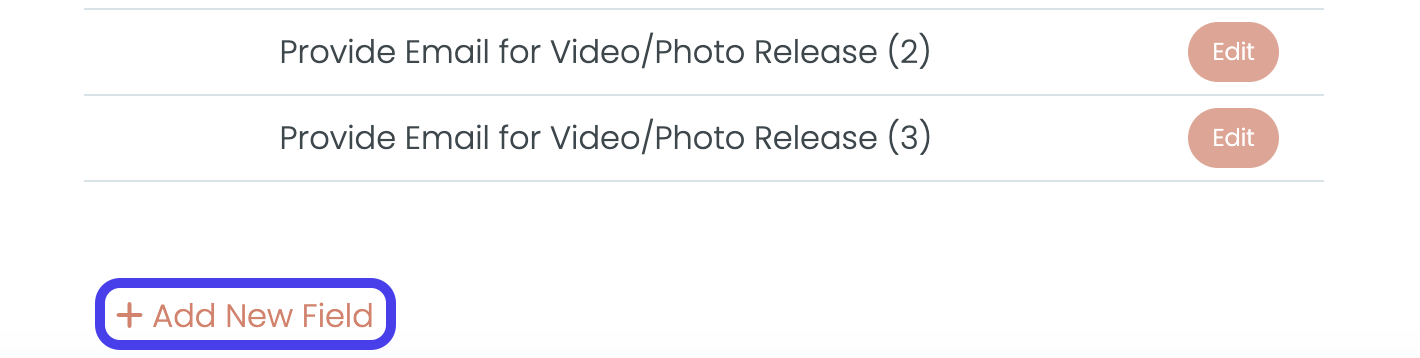
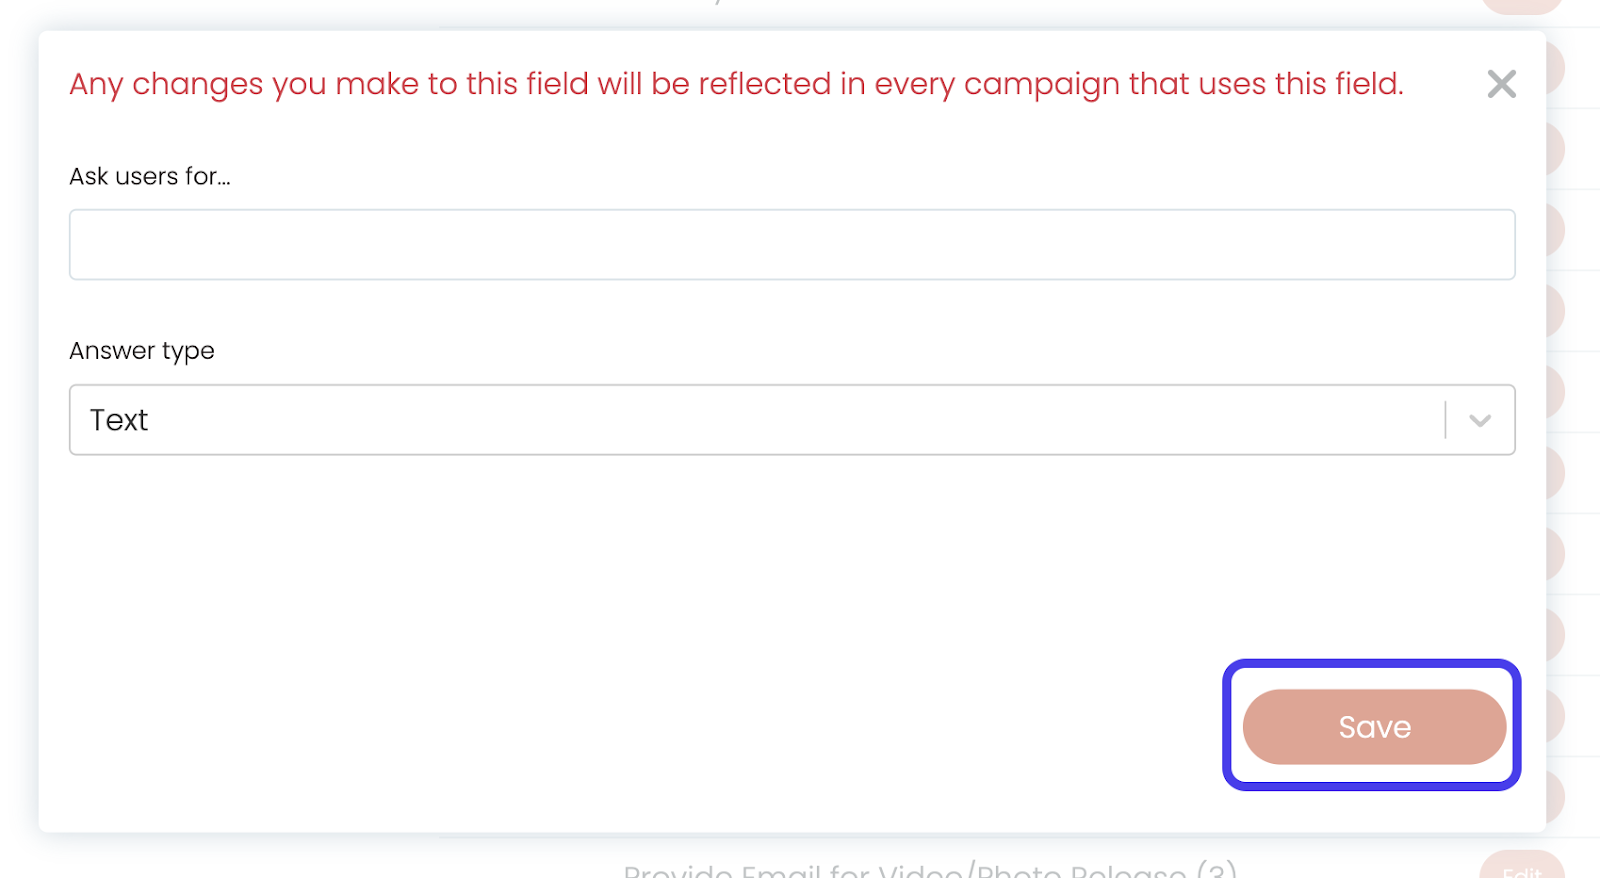
To create a Custom User Field, click on the Add New Field button below your Excluded Fields. Here you can create any data field you would like.
Click Save to save your Custom User Field.
Fox Tip: Too many fields might scare your storytellers away. Only include the necessary fields you need to include.
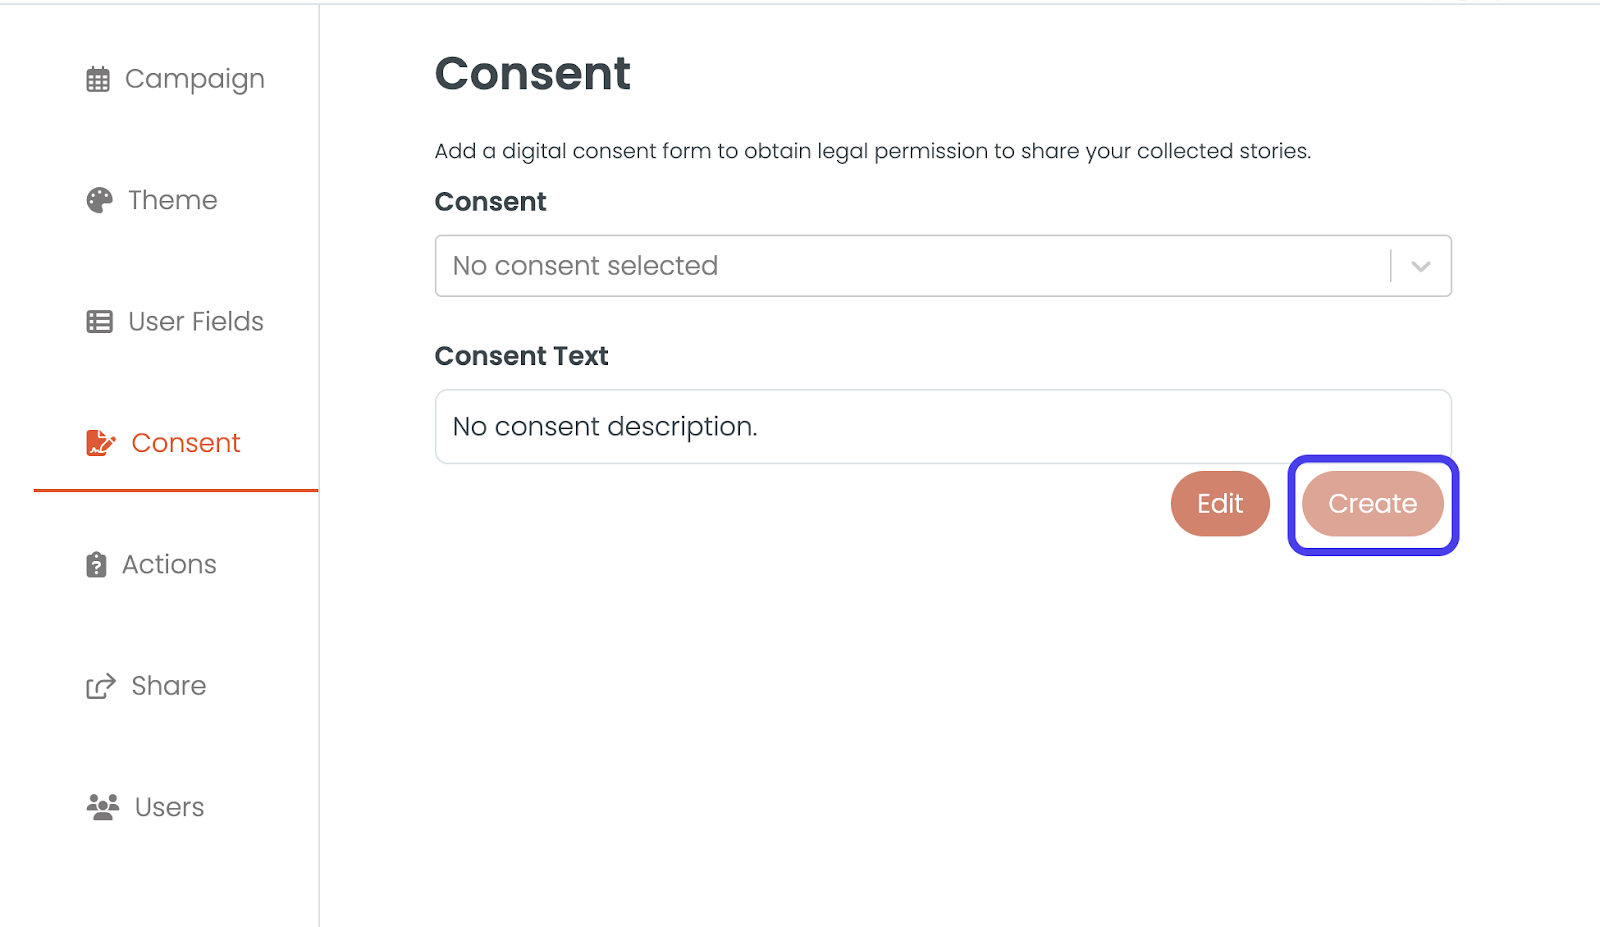
Step 4: Create Your Digital Consent
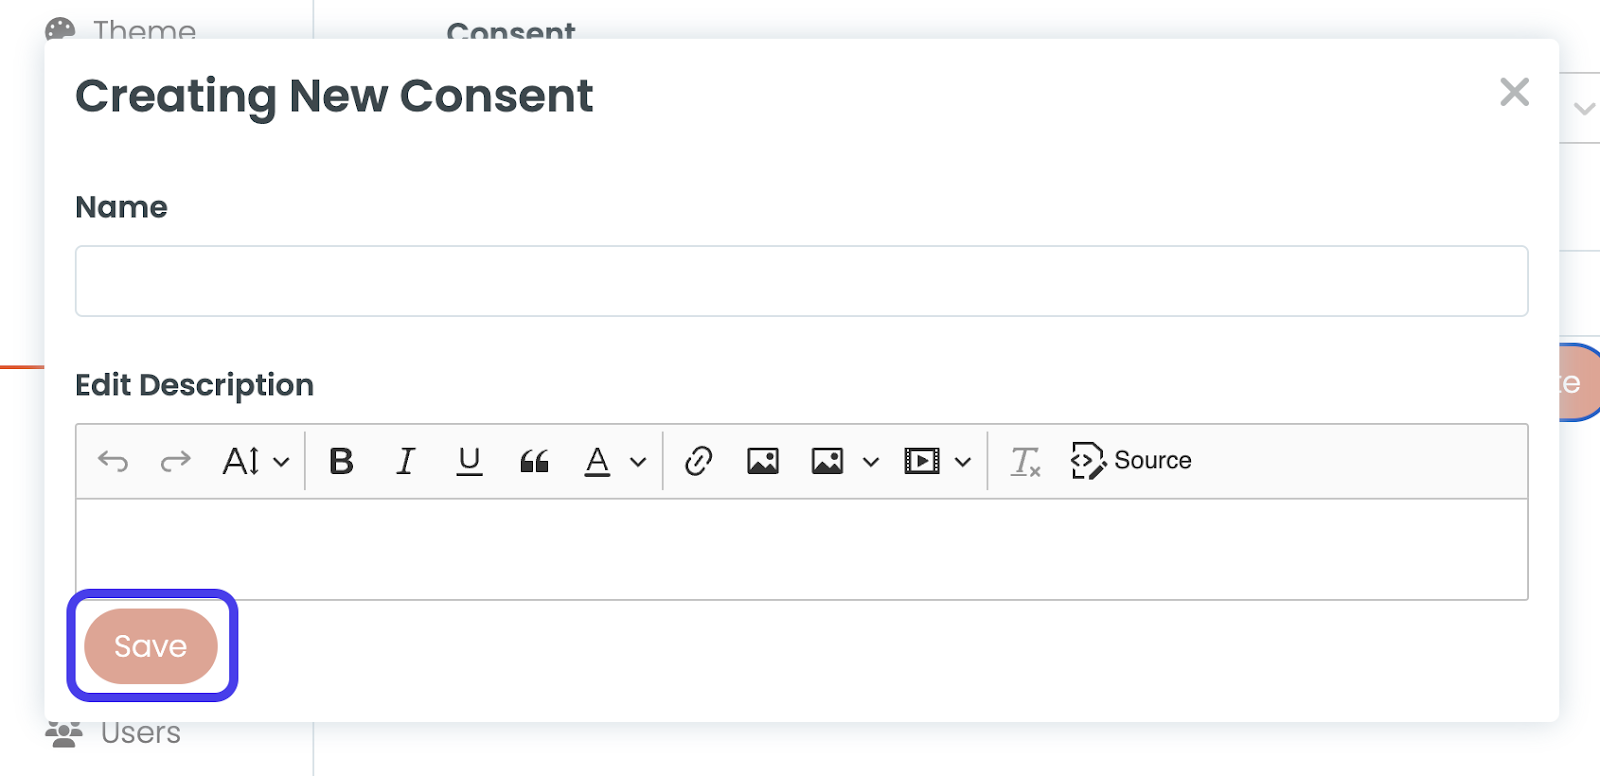
To create a new consent, click the Create button.
Next, fill in both the Name and the Description of your Consent Form. To fill in the Description, you can simply copy and paste your organization’s legal and permission language into the text box. Hit Save.
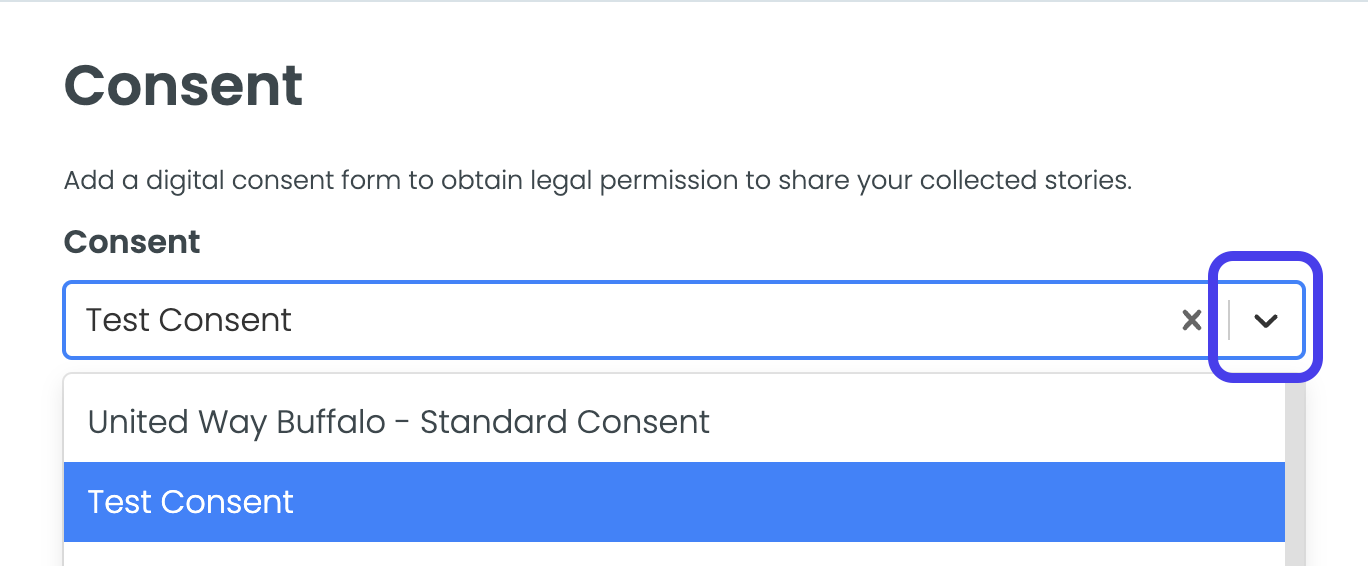
If you already have a consent form created in MemoryFox, simply select your desired consent from the dropdown menu.
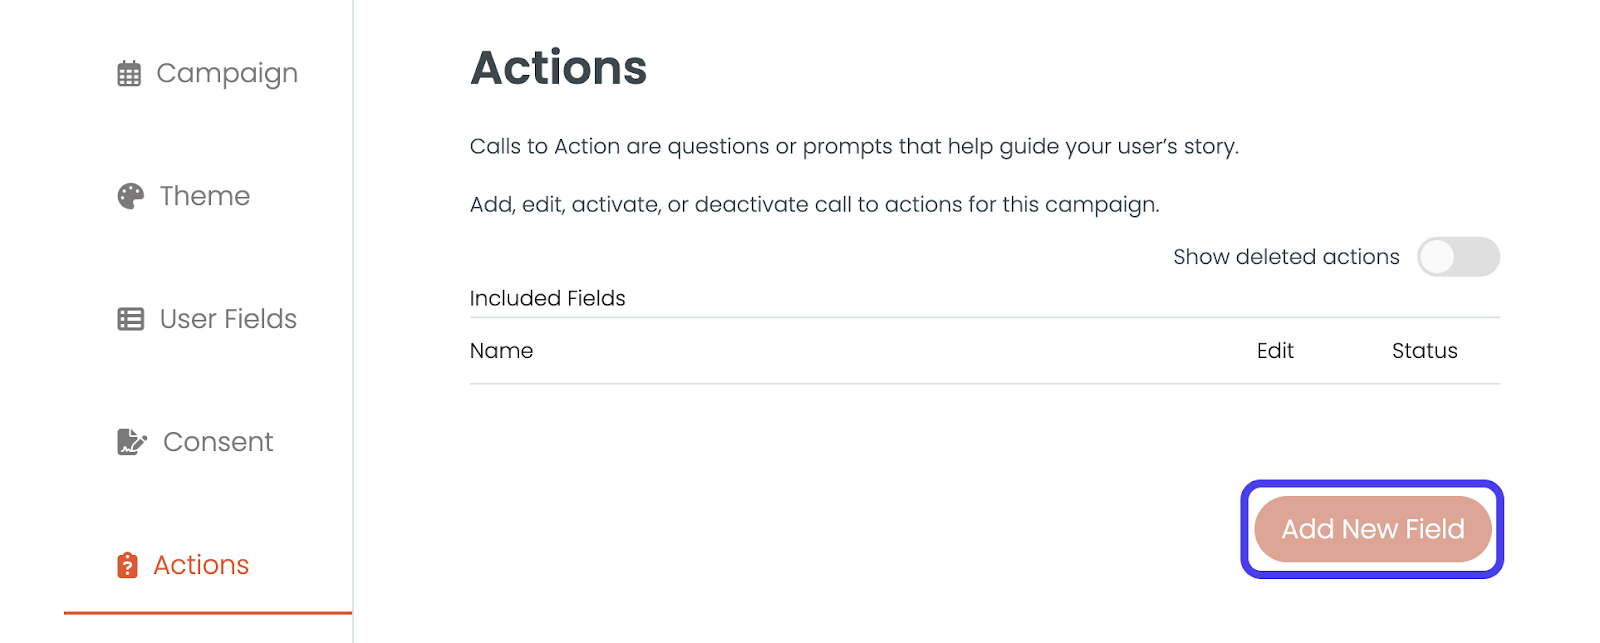
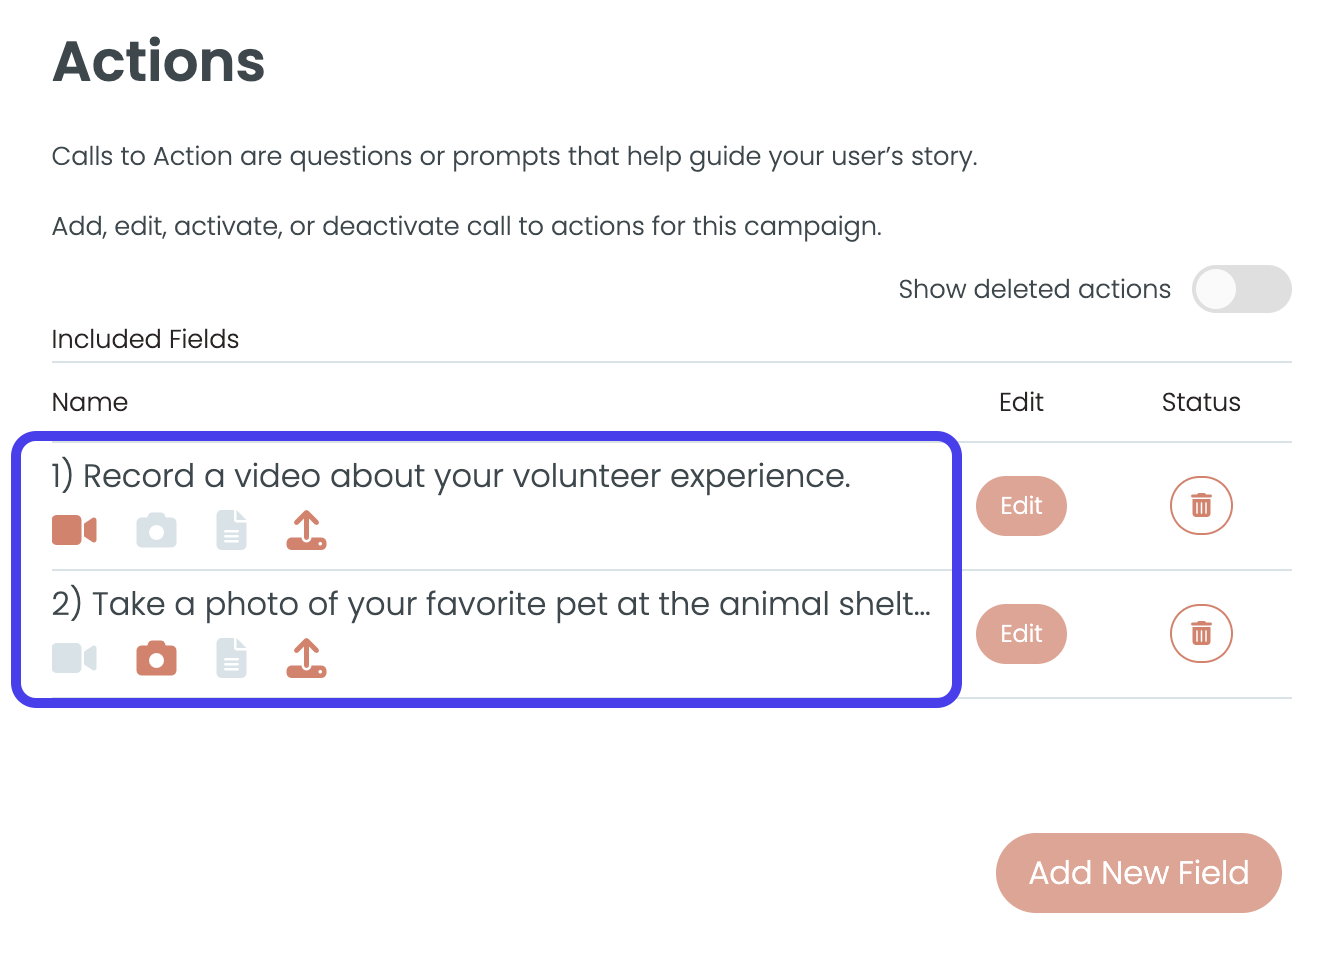
Step 5: Craft your Calls to Action
To create a Call to Action (CTA) prompt, select Add New Field.
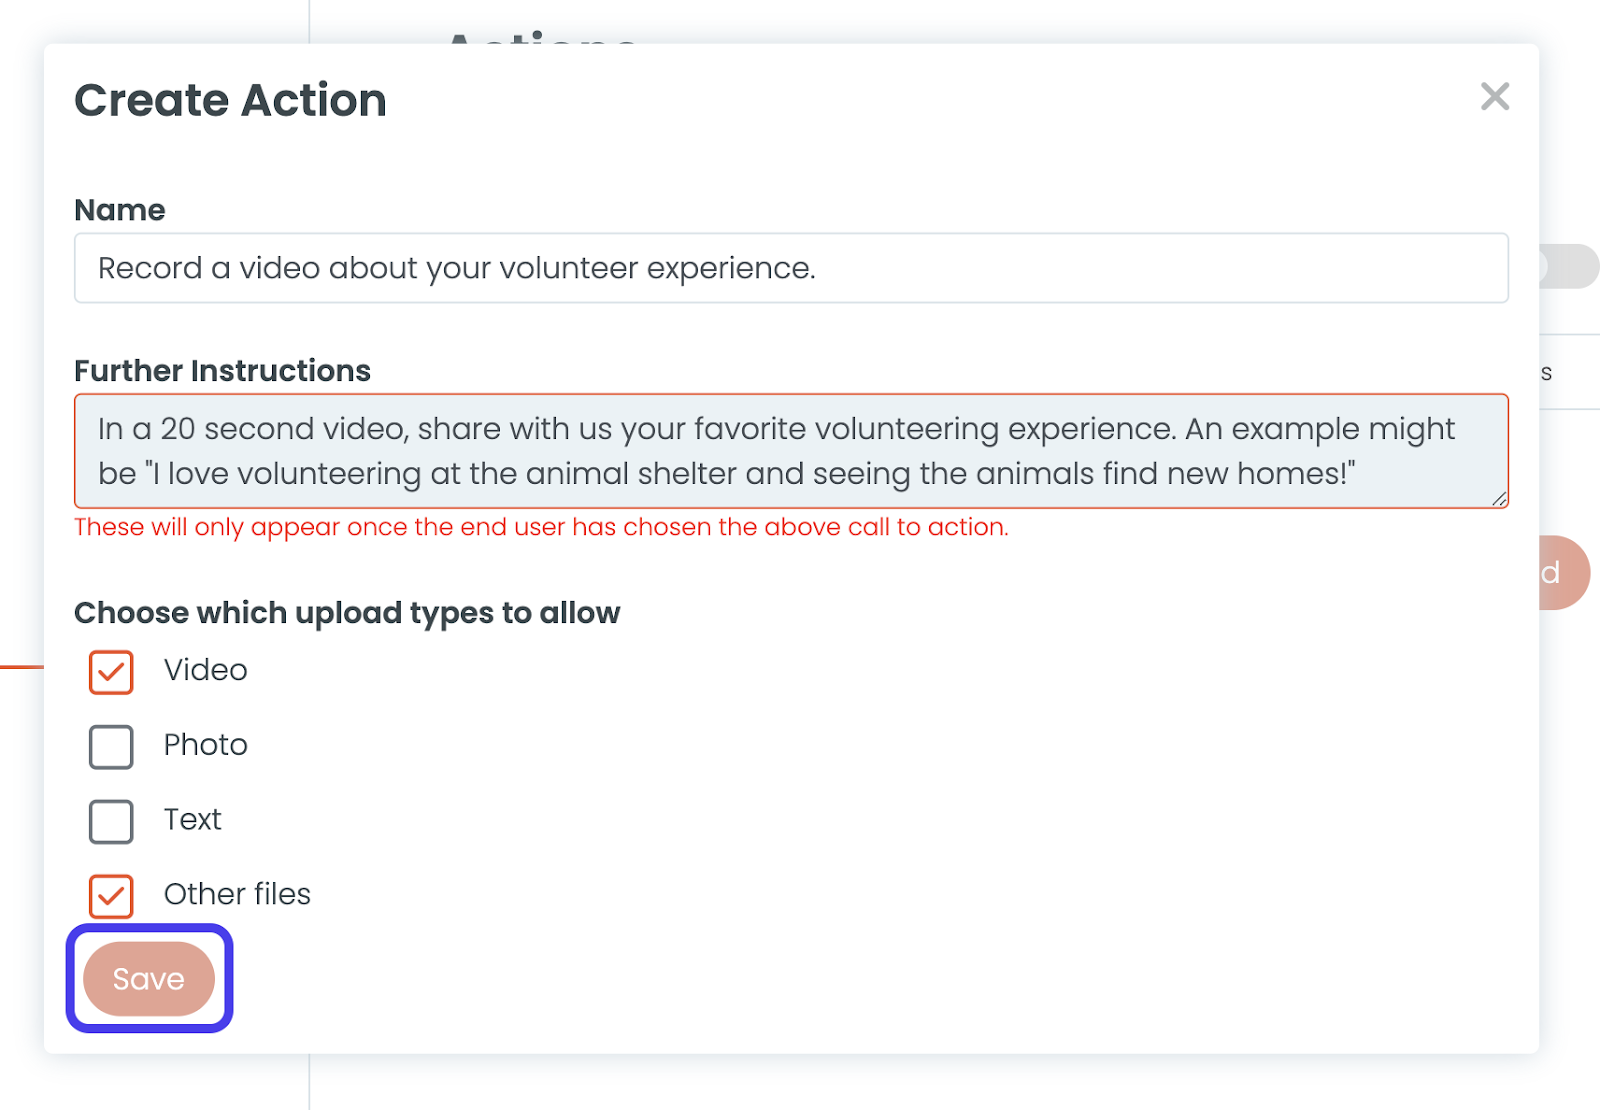
Next, enter the Name and the Further Instructions for your CTA. Your CTA Name should state what you want your community to answer or provide while your CTA Further Instructions should provide information necessary to complete the CTA.
Then, select your desired media upload type for the submission.
Fox Tip: We recommend selecting one main media type (video, photo, or text), but we also recommend selecting Other Files as a safety net. This will allow your community to access their photo or file library on their device, making it super easy for them to add content previously taken.
Hit Save to add that CTA to your campaign.
Fox Tip: If you have more than one CTA and want to put your CTAs in a particular order, number them in the CTA Name.
Step 6: Share your campaign!
Lastly, to share your campaign with your community, select either Download QR or Copy Link towards the bottom of your page.
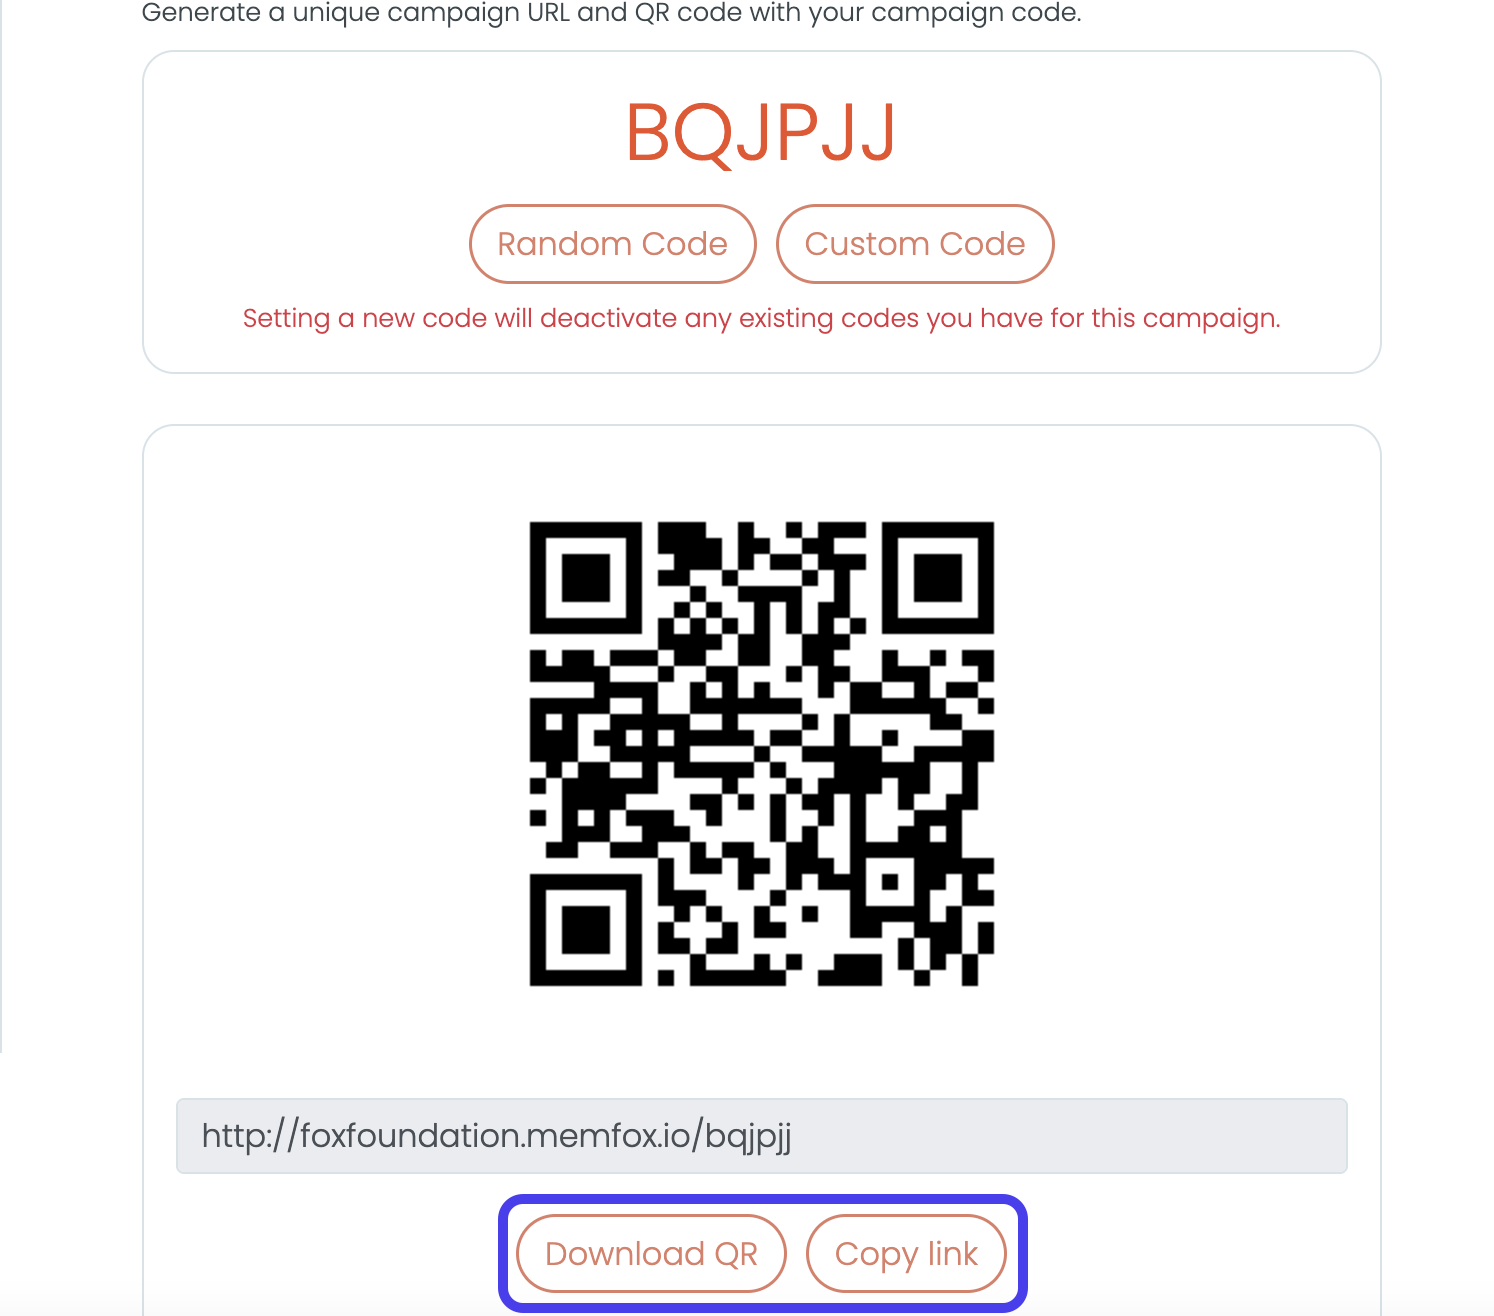
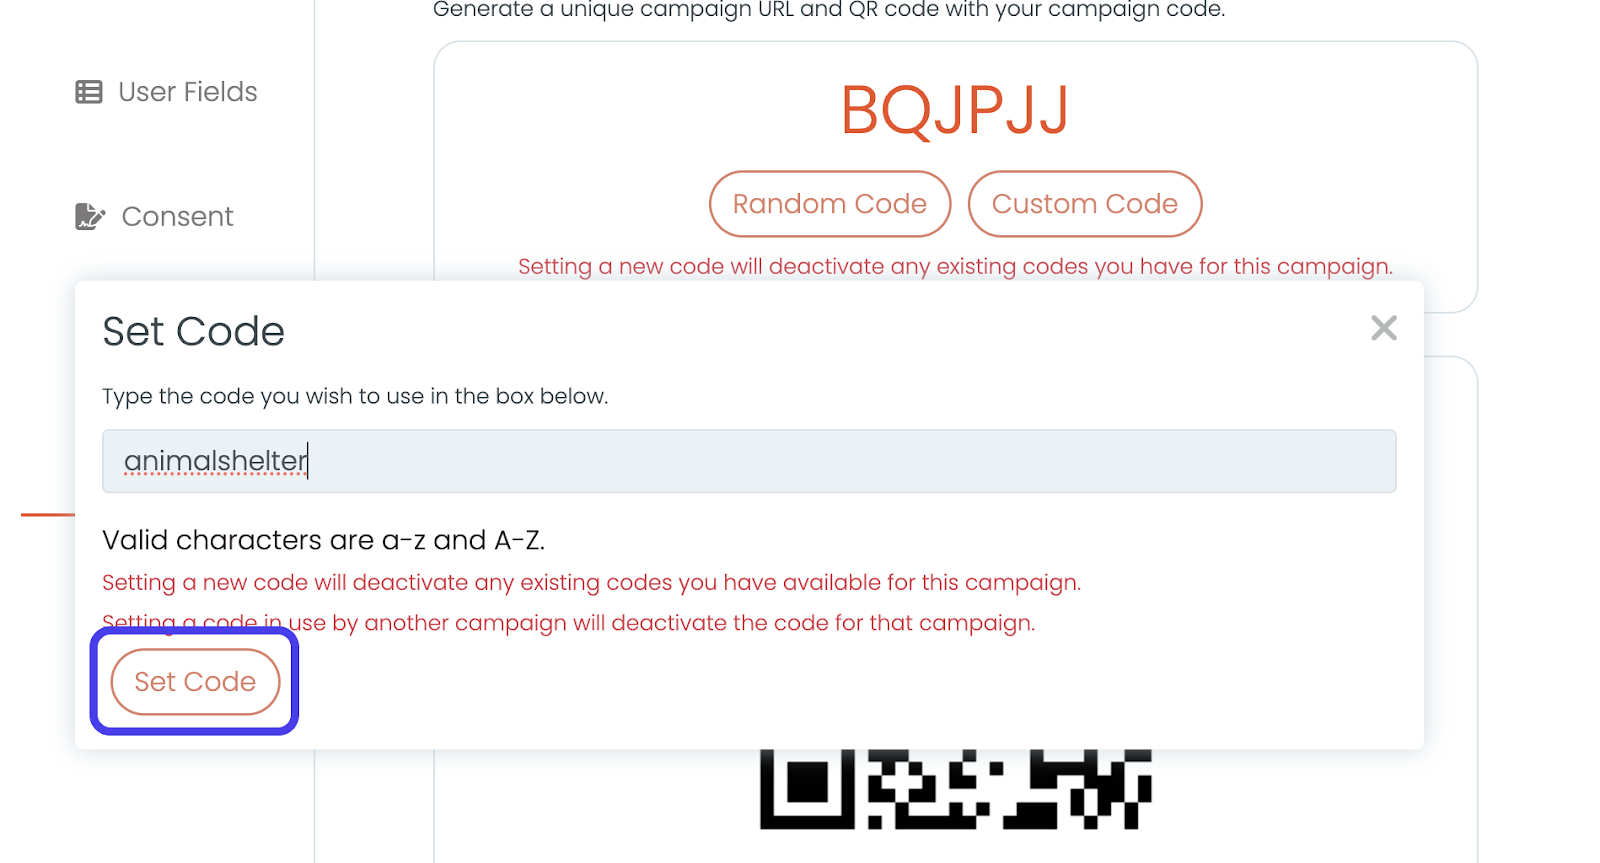
For a more custom touch, change your campaign URL’s tail-end by selecting Custom Code.

Enter in your custom code and select Set Code.
And there you have it – a brand new MemoryFox Campaign! Once you share the campaign URL link or QR code with your community, you can now begin collecting testimonials and stories of impact.
