Using MemoryFox’s Tag feature allows you to easily organize, sort, and search your content for specific projects.
- To begin, select the Content tab at the top of your screen.

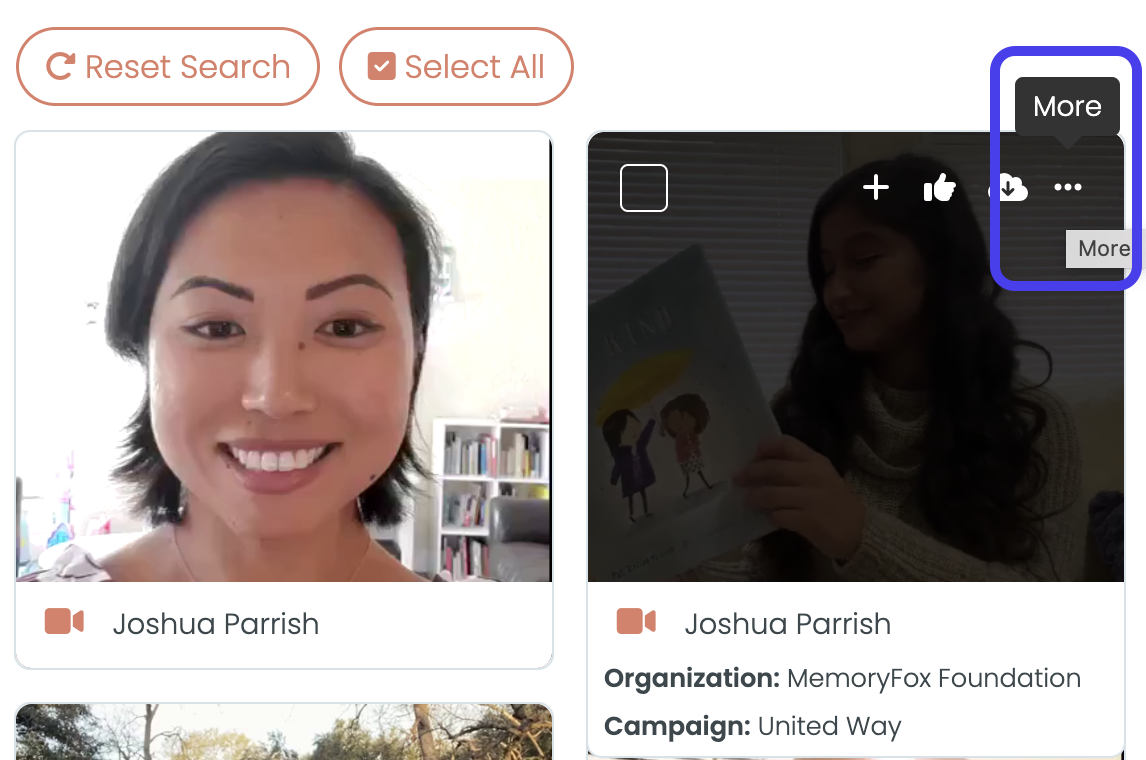
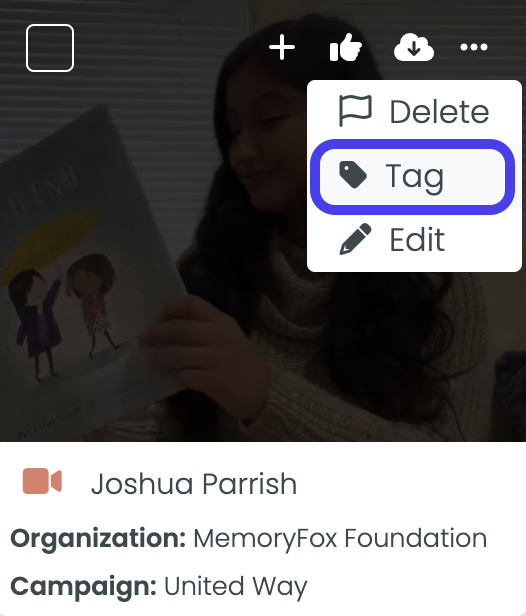
- Then, find the piece or pieces of content you would like to create a tag for. Once you have your selection, select the More (…) icon located on the top right of your content preview tile.
Then select Tag.
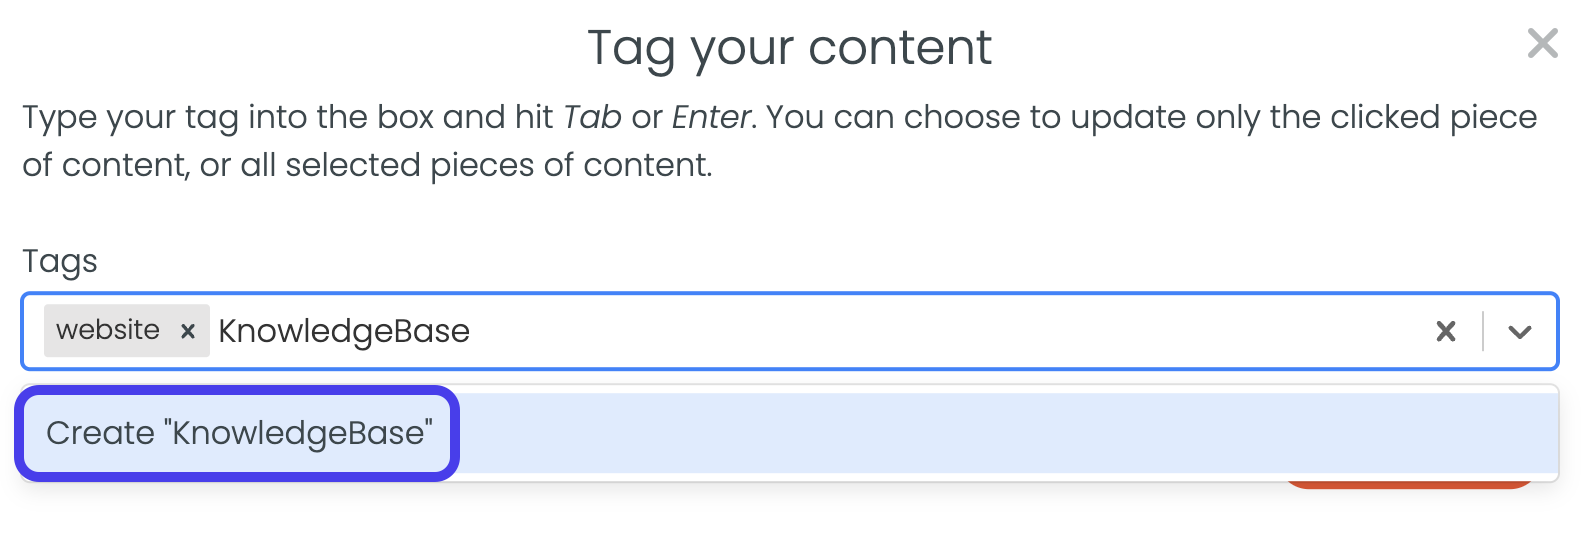
- To create a new tag, use the text field to type in your new tag.
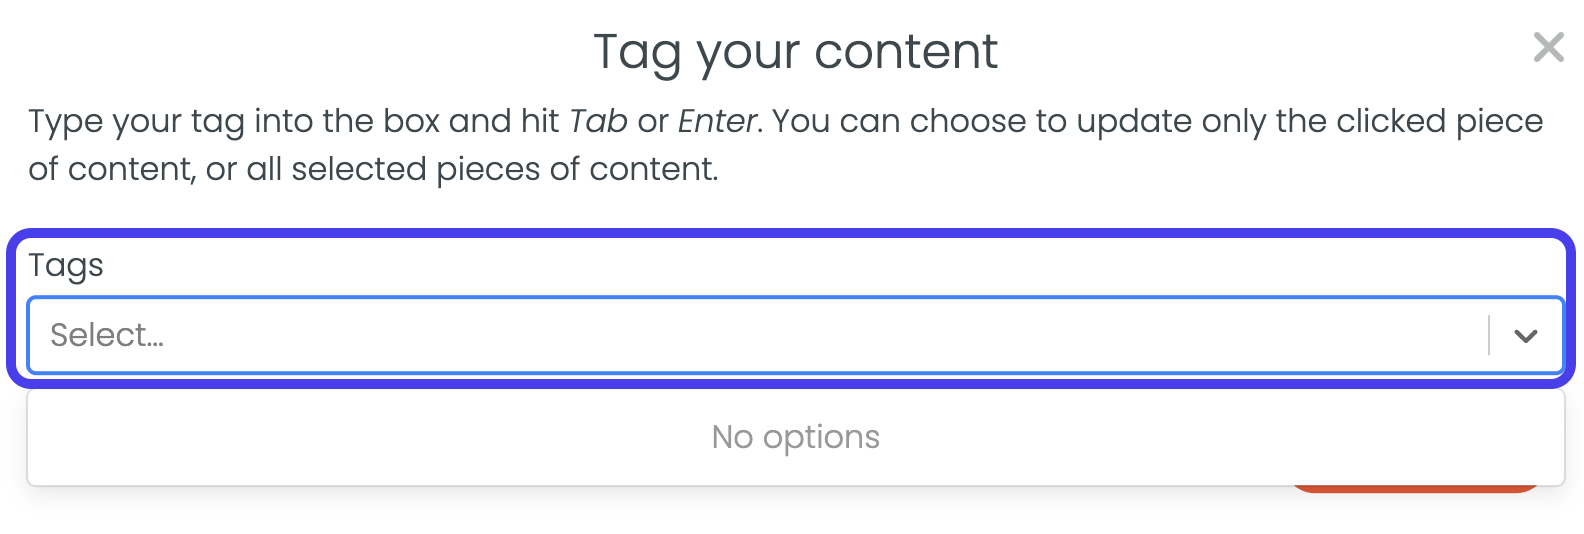
Then select Create “Tag Text” in the drop down.
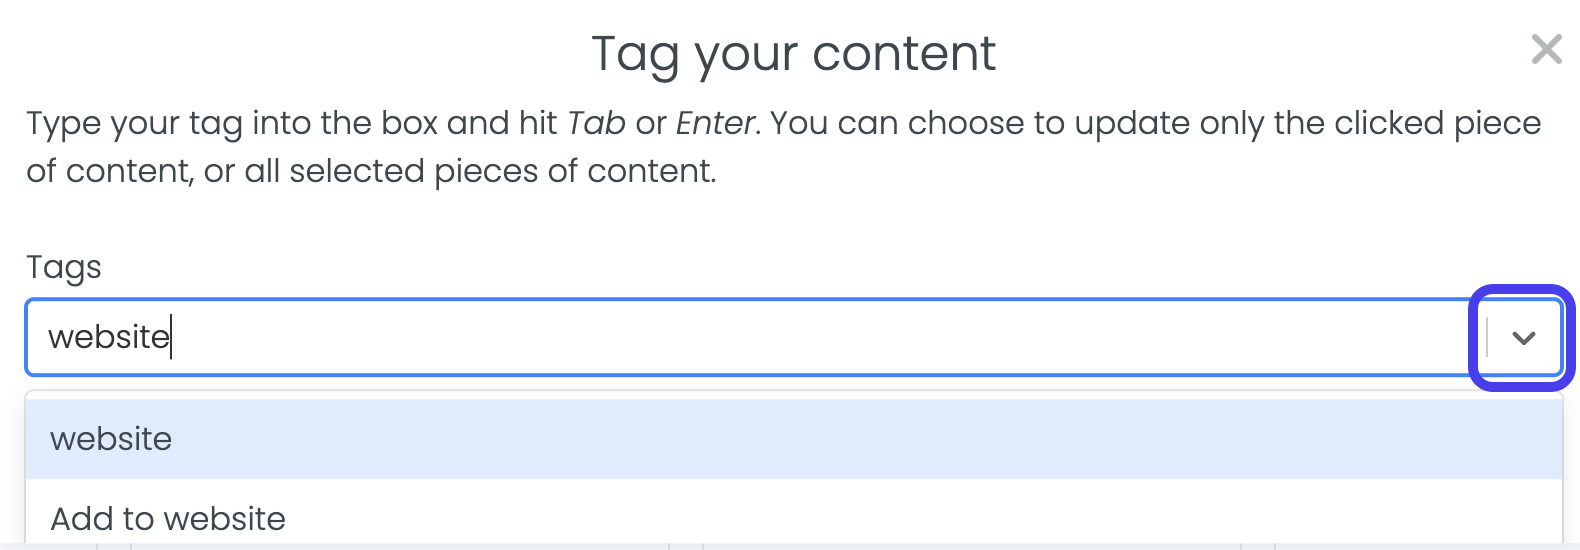
To add an existing tag to the piece of content, you can use the Drop Down icon at the right of the text field or begin typing the existing tag into the text field.
- Once all your desired tags are entered, select Update This.
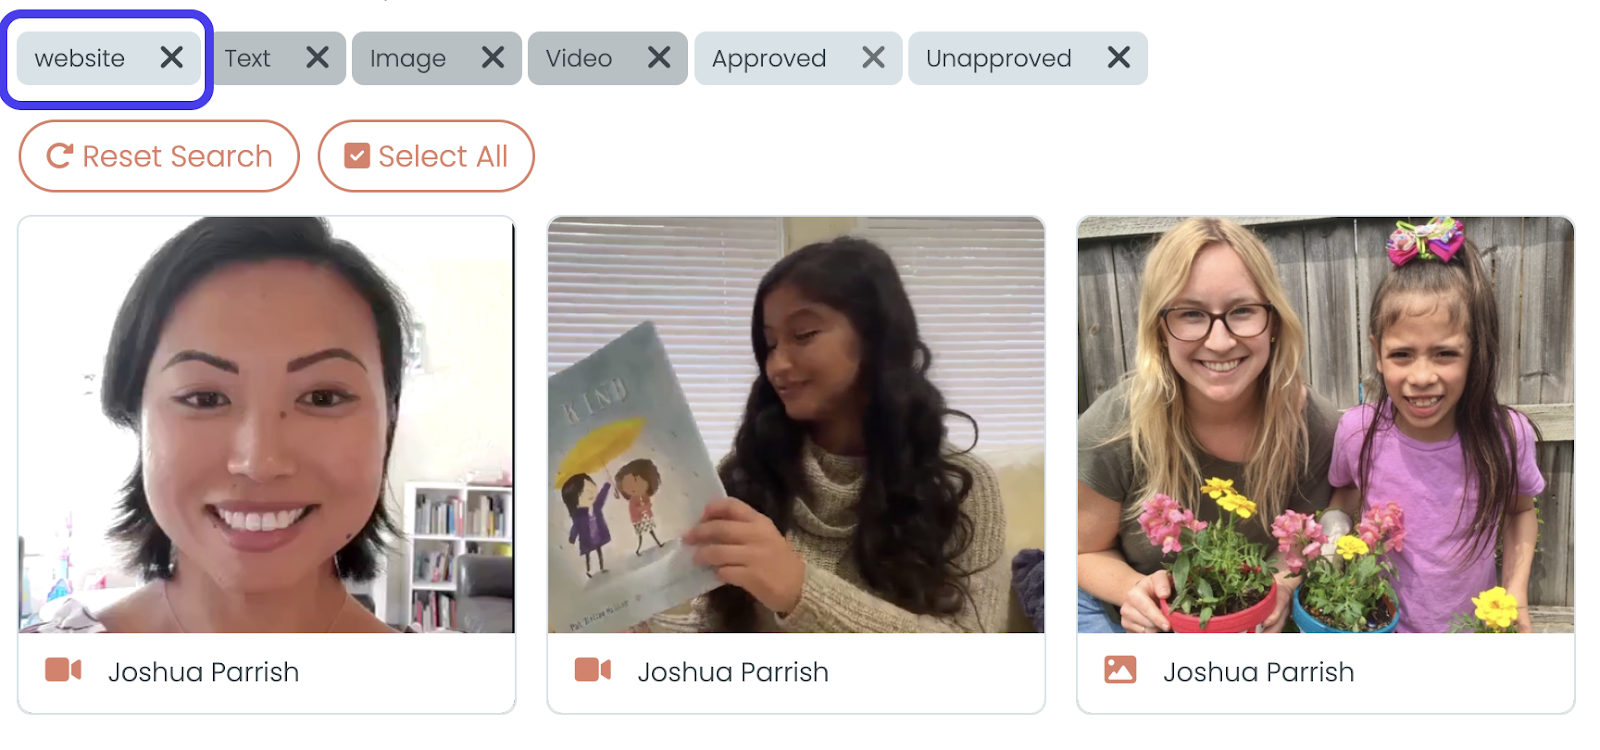
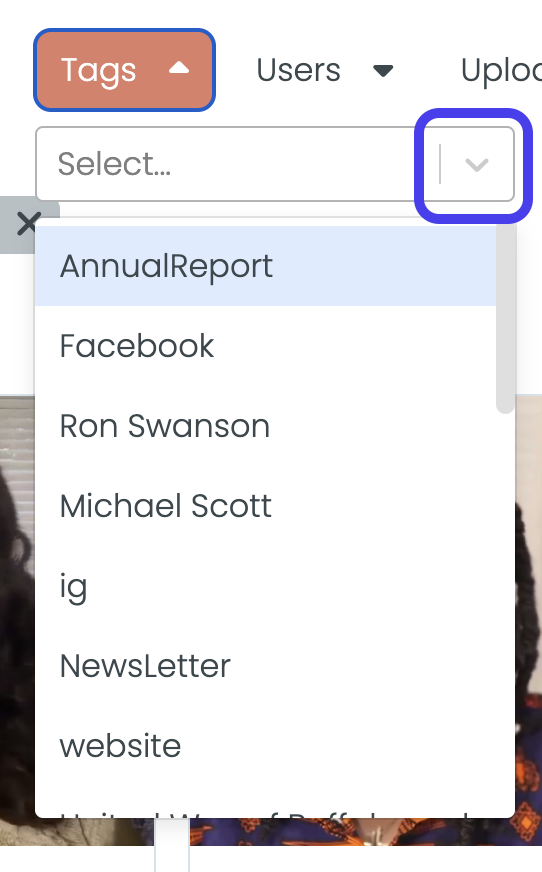
- To pull up your tagged content, select the Tags filter at the top of your content management screen.

- You can either use the text entry field to type out your desired tag.
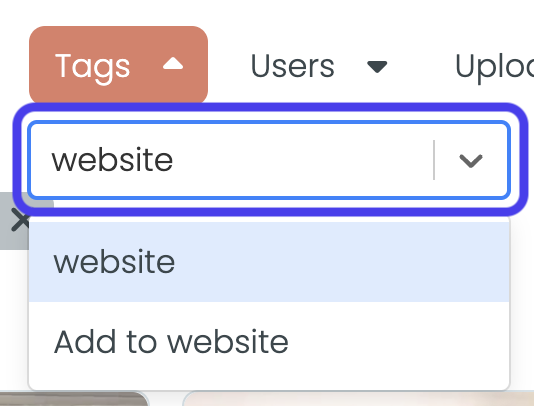
Or, you can scroll through the drop down list.
- All the selected tags will appear as a filter at the top of the content page, and only the content associated with those tags will appear on the content page.