Crafting compelling community stories with MemoryFox is easy to do!
Do you want a captivating community story? Look no further! Let’s simplify the steps to craft an awe-inspiring tale with MemoryFox’s Story Builder.
Step 1: Gather Your Content
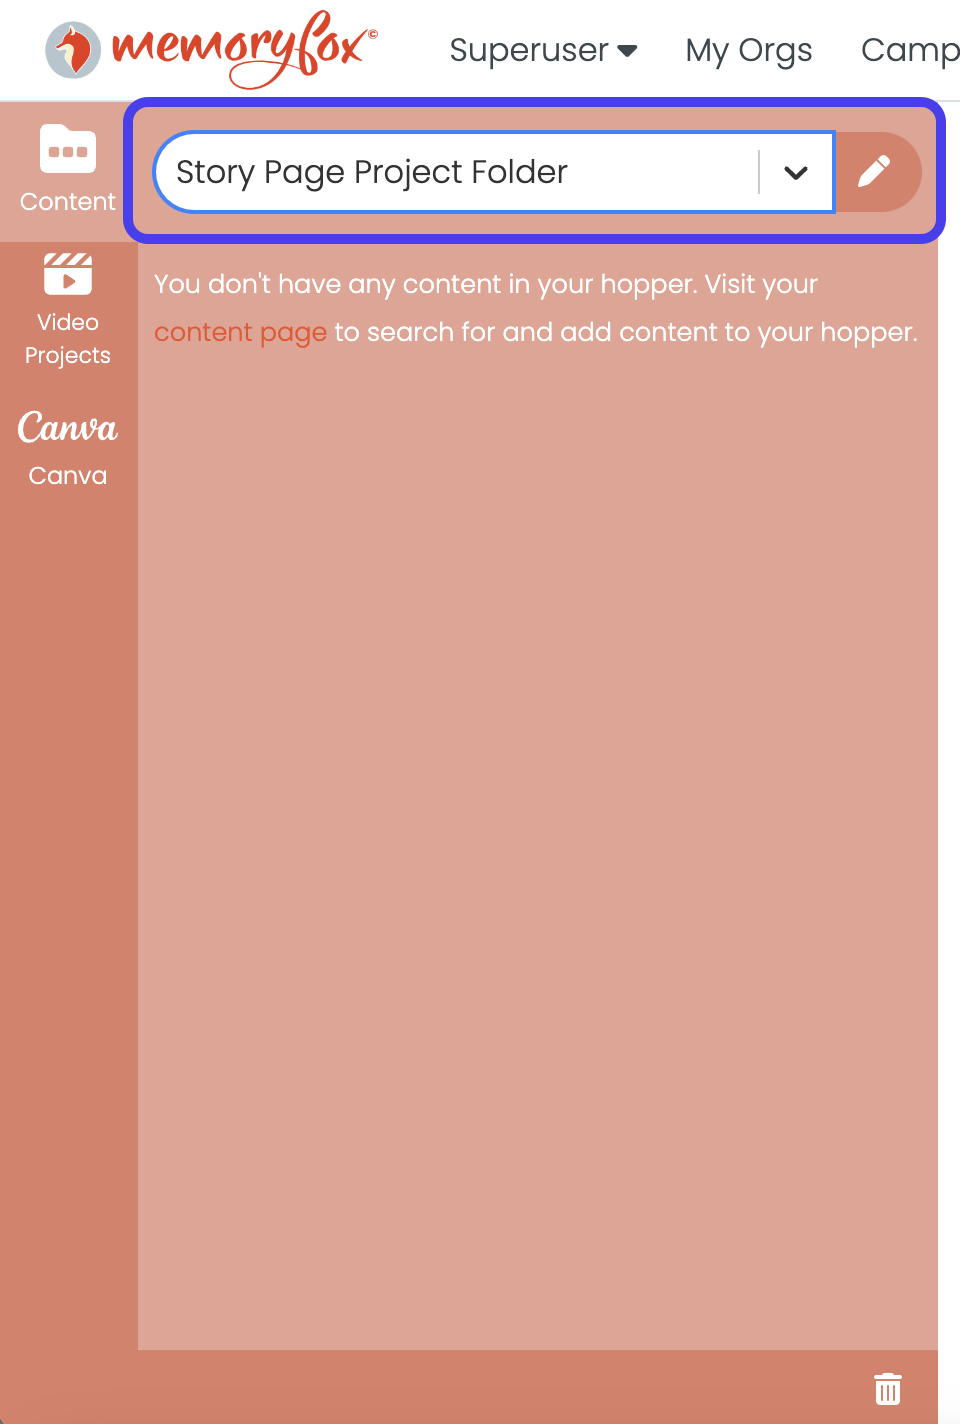
Start by creating a folder in your Hopper for your story page. To do this, select the Content tab located on your left side toolbar.
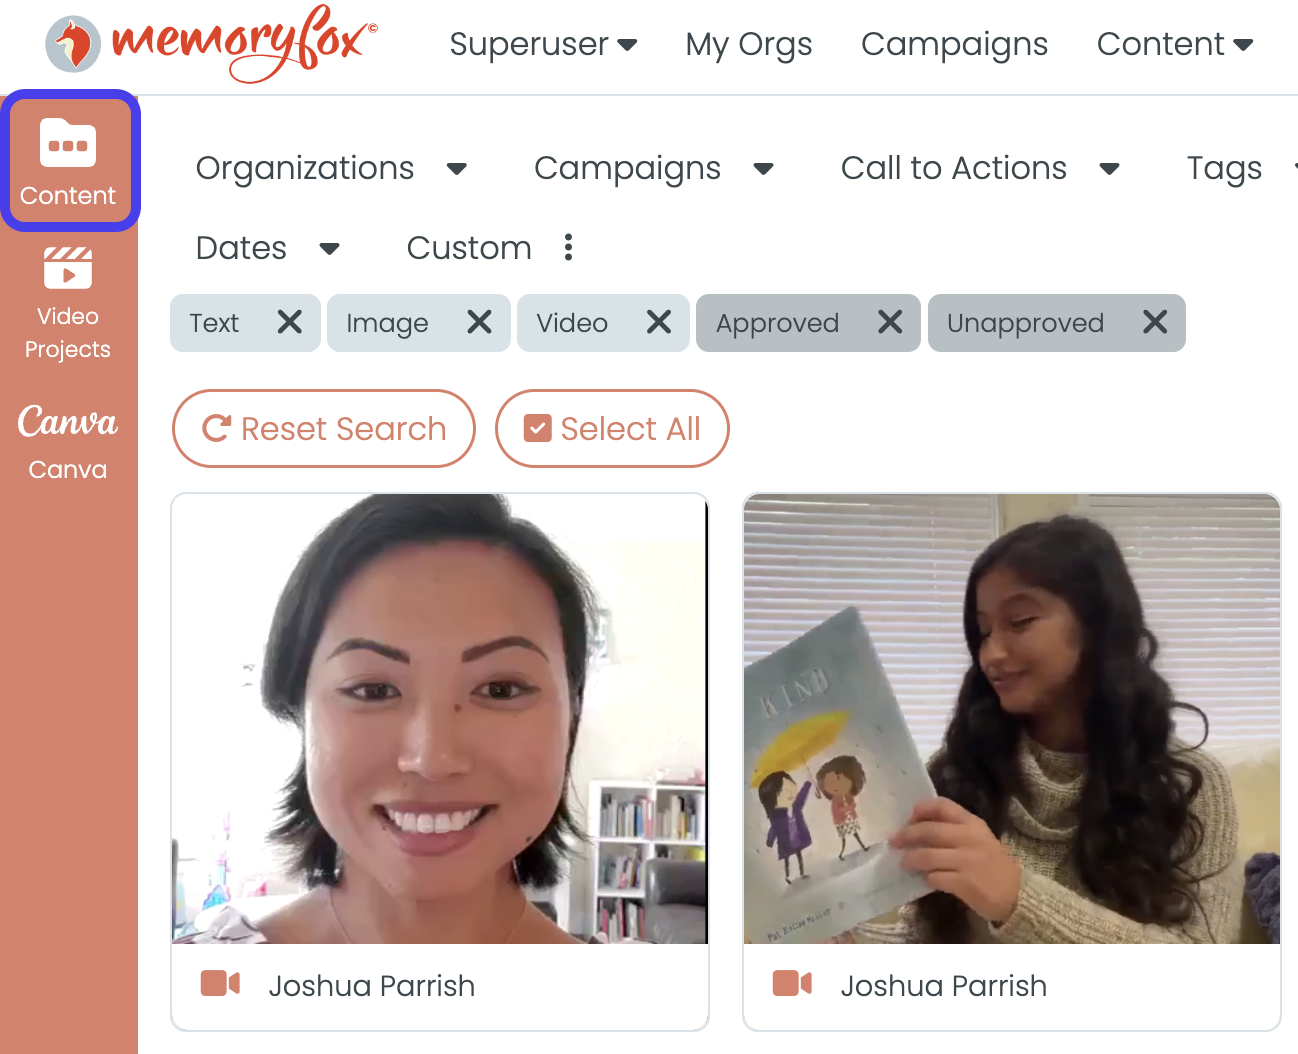
You can work with an existing Hopper folder or create a new one for this project.
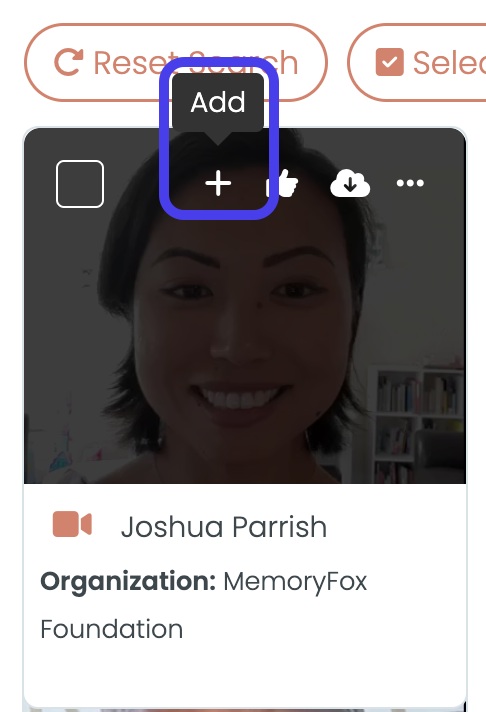
To add content to your Hopper folder, select the “+” sign on your content preview thumbnail.
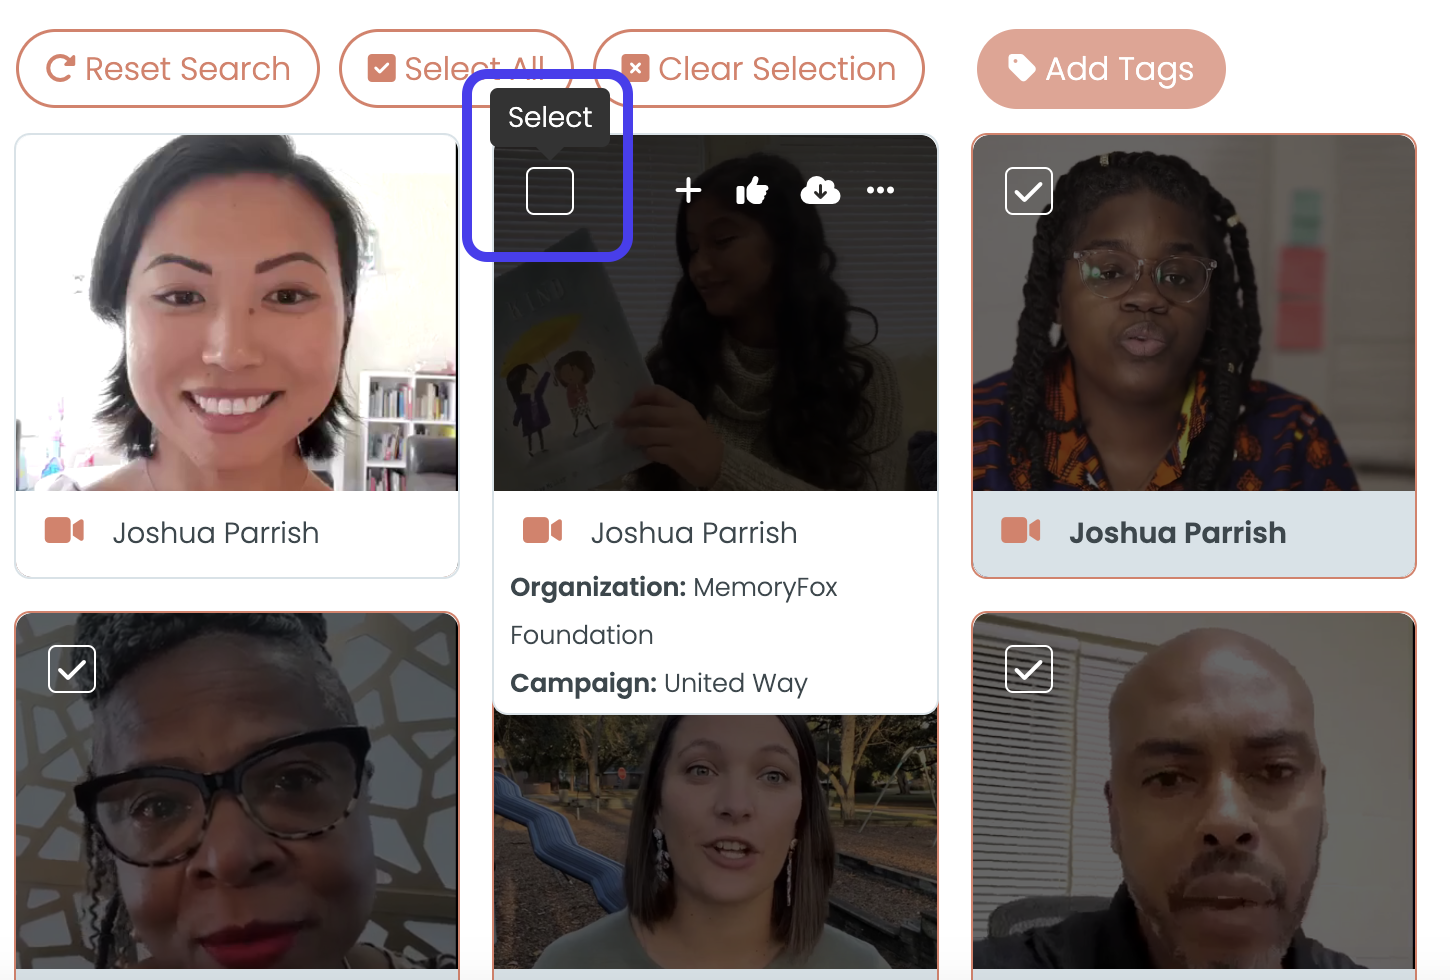
Fox Tip: Bulk-add by selecting multiple thumbnails and drag a selected piece into your Hopper folder.
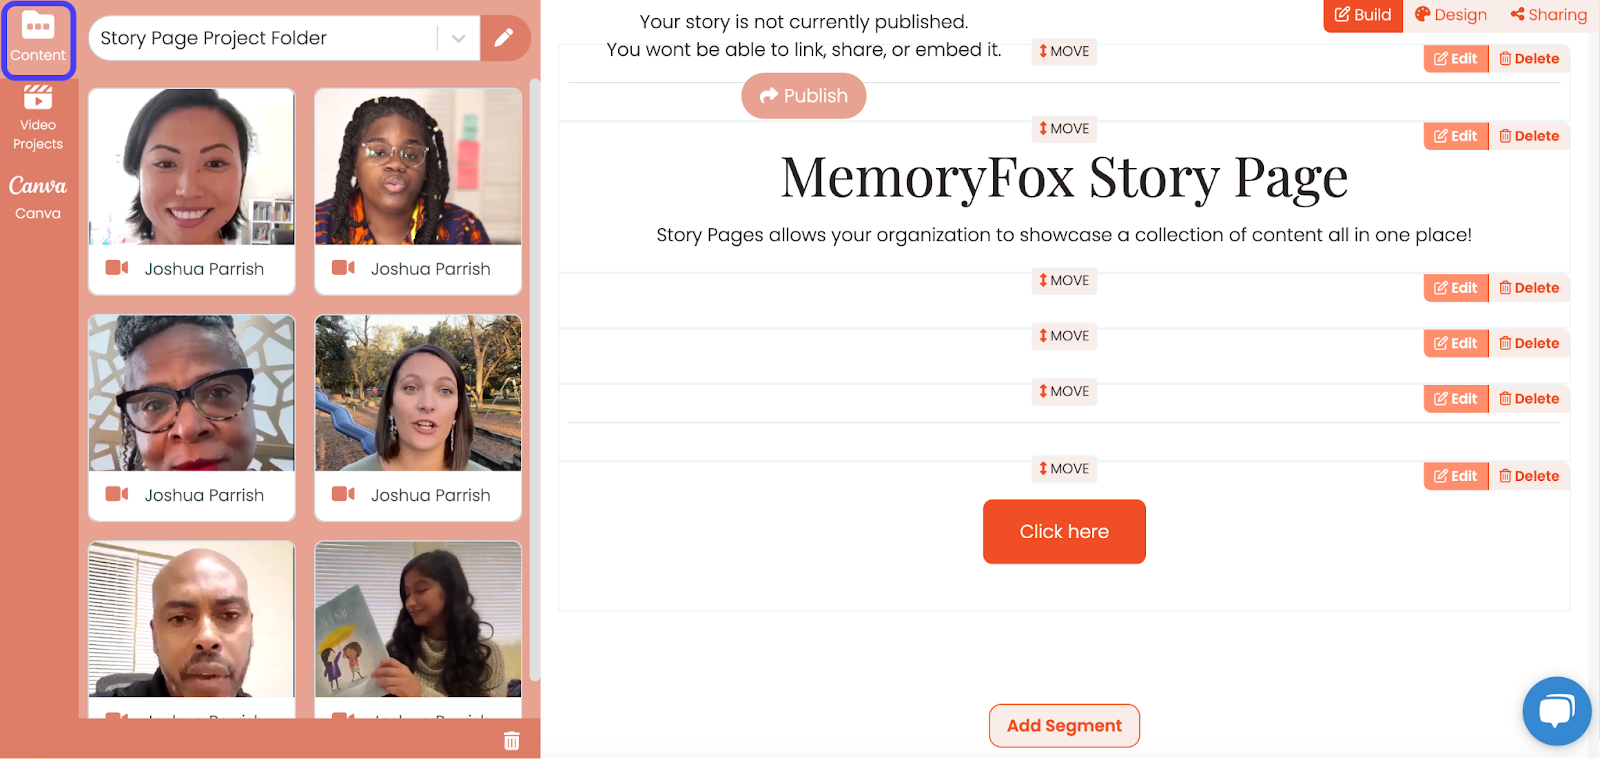
Step 2: Create a New Story Page
Go to your menu bar on the top of your screen and select the Stories tab.

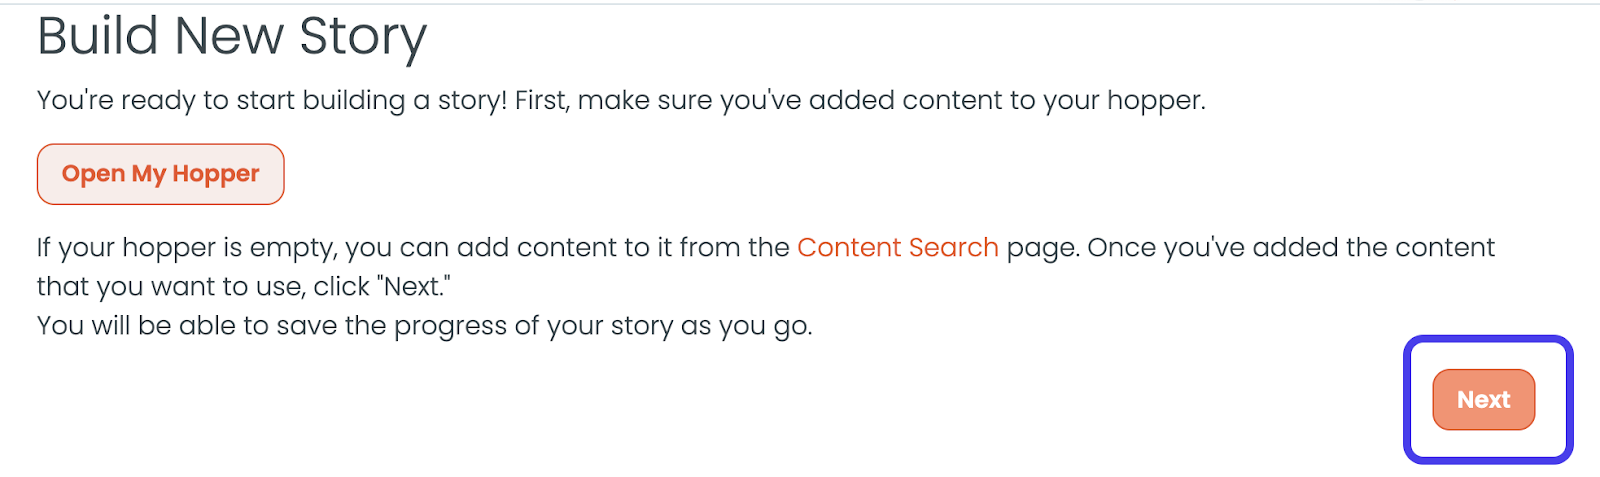
Next, select the Create Story button located at the top right of your screen.

NOTE: You will see a reminder to add content to your Hopper folder in order to create your story (you already did this in Step 1). Select Next to continue.
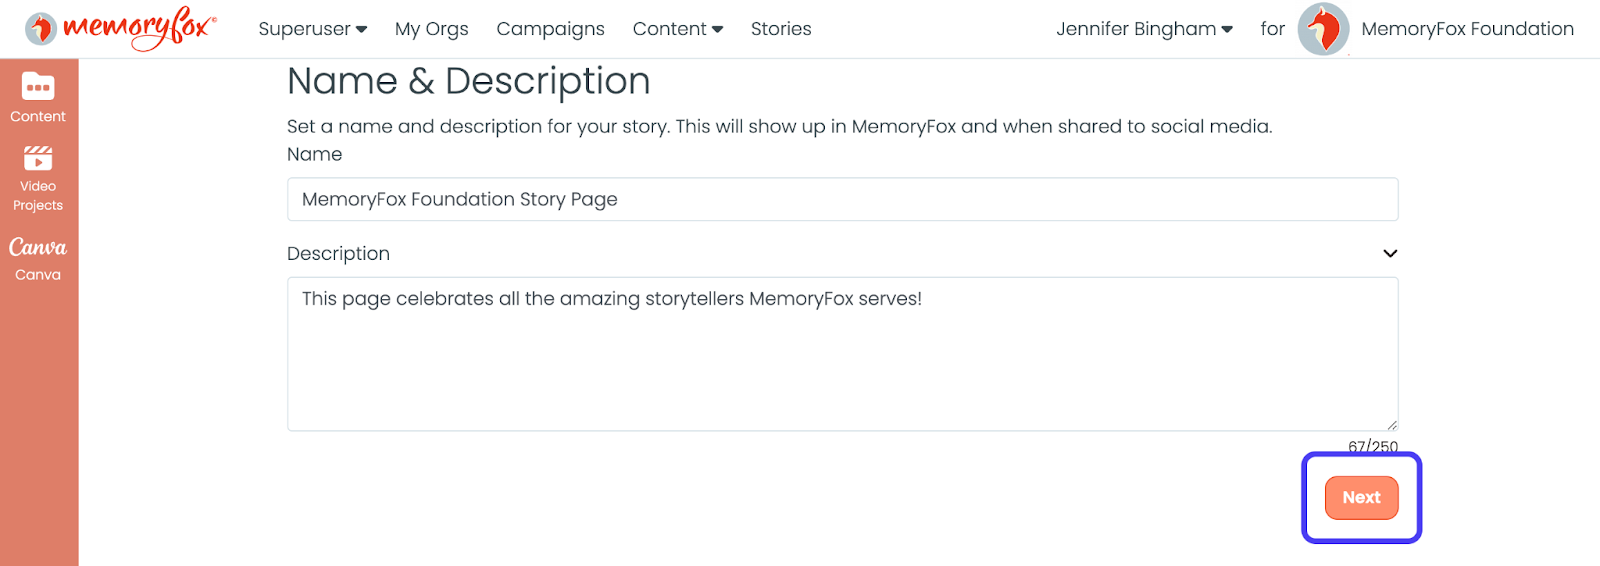
Add a Name and Description for your story page. You can edit this later. Select Next to continue.
Step 3: Add Segments to Your Story Page
Adding segments will shape your story page. Click the desired segment type to begin.
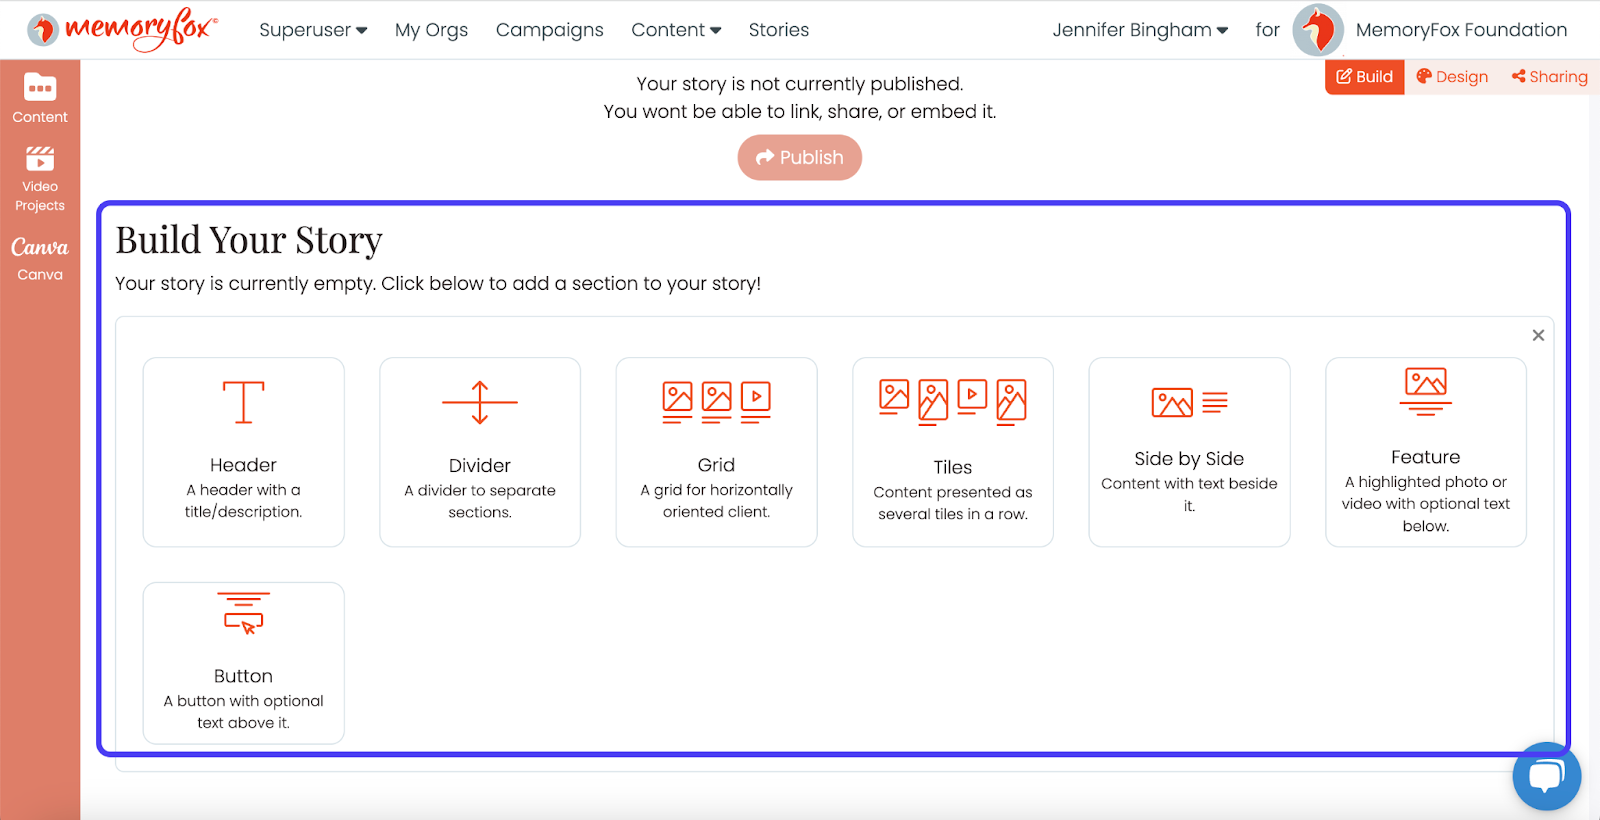
Segment options include:
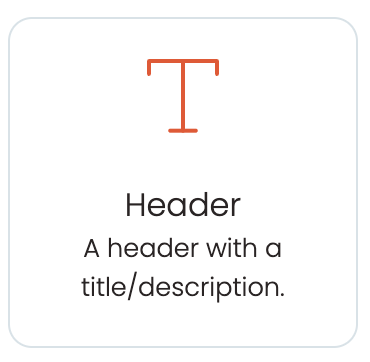
- Header: Showcase your story page’s title and/or description.
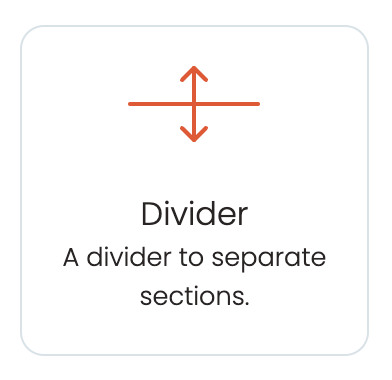
- Divider: Visibly separate segments with a thin line.
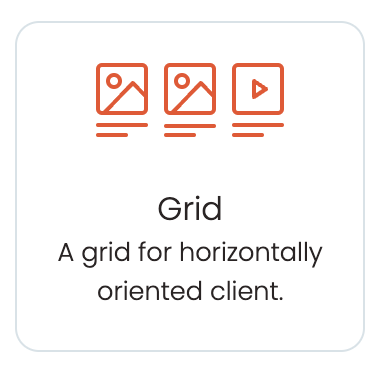
- Grid: Showcase content in rows, portrait or landscape.
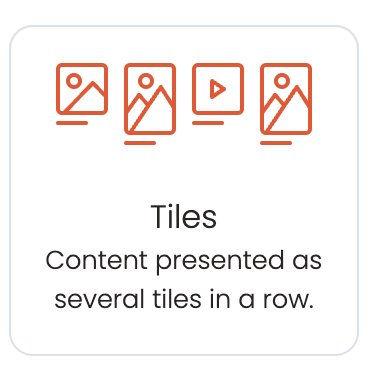
- Tile: A dynamic mosaic of content. You pick the column count.
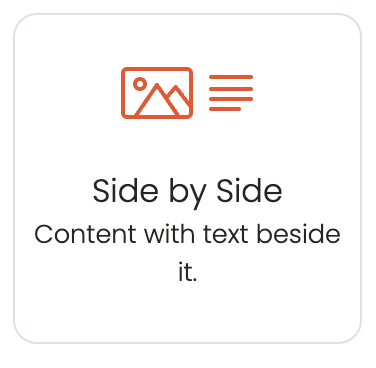
- Side-by-Side: Pair content with descriptive text.
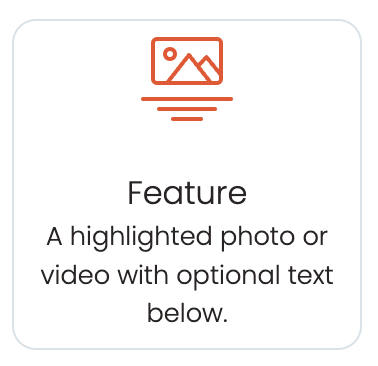
- Feature: Highlight content in a large view.
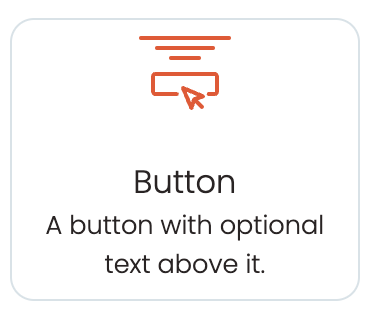
- Button: Link to anywhere with a custom URL.
Fox Tip: Start with a “Feature” segment to flaunt your organization’s logo.
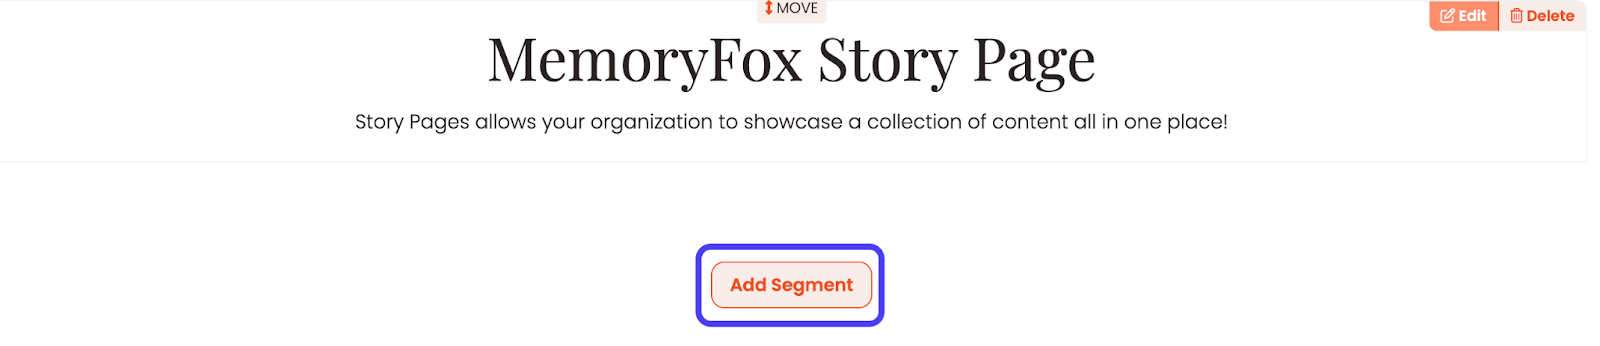
Add as many segments as you would like. To add a new segment, select the Add Segment button located at the bottom of your screen.
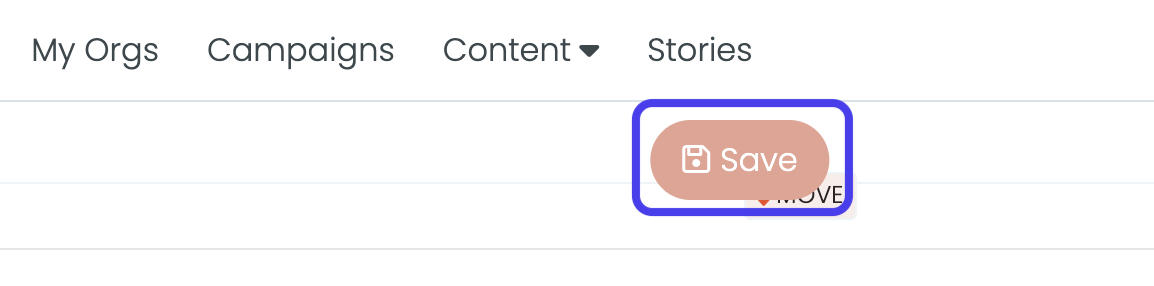
Fox Tip: Save your work as you go by clicking the Save button located at the top of your screen.
Step 4: Populate Segments with Content
Now, it’s time to fill your segments with content! First, open your Hopper (the Content tab on the left side toolbar).
Next, make sure the Segment you want to work in is in Edit mode as opposed to View mode.
Drag and drop a piece of content from the Hopper into your desired Segment.
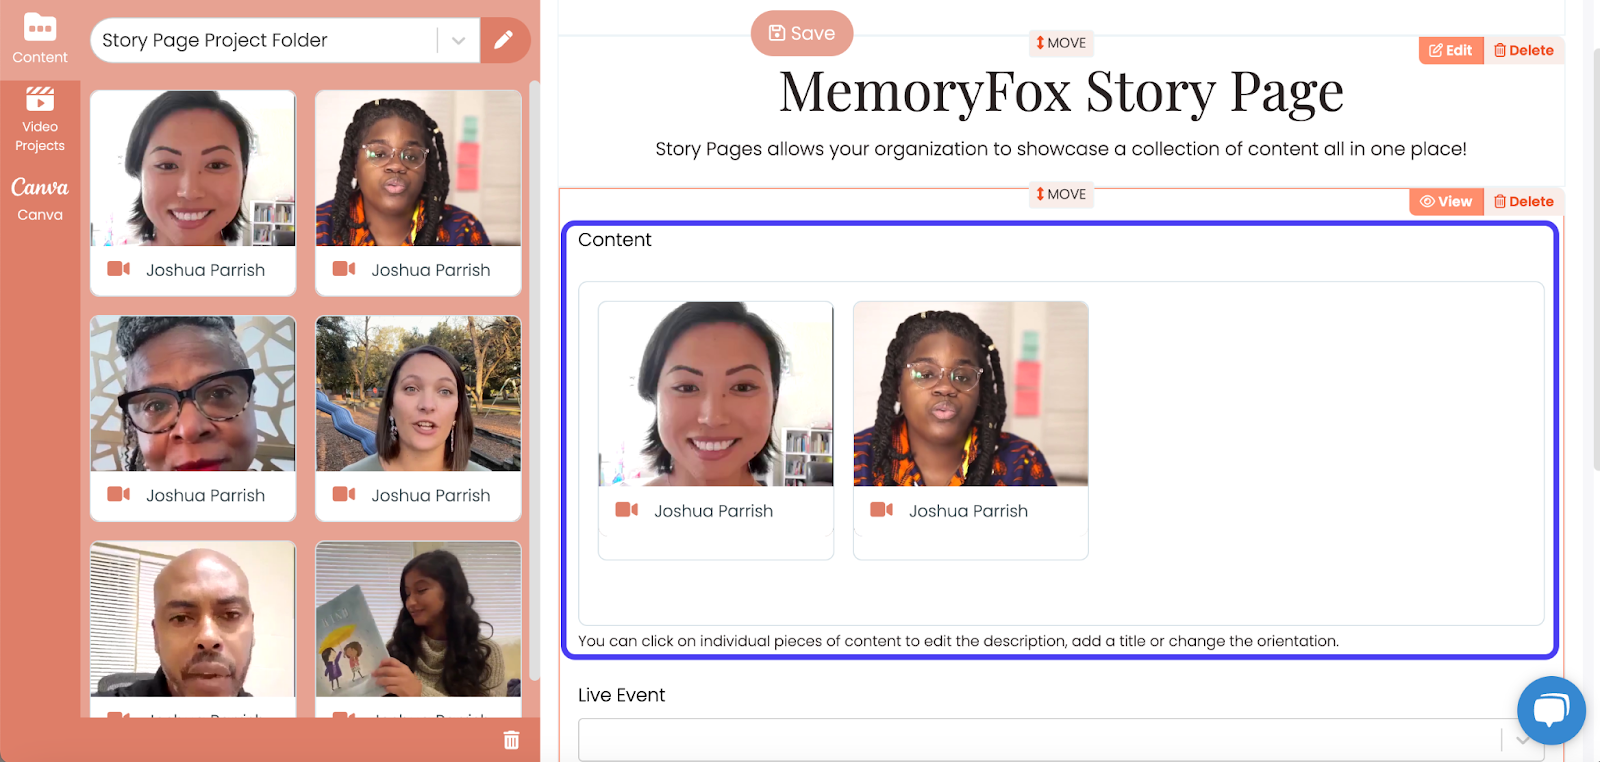
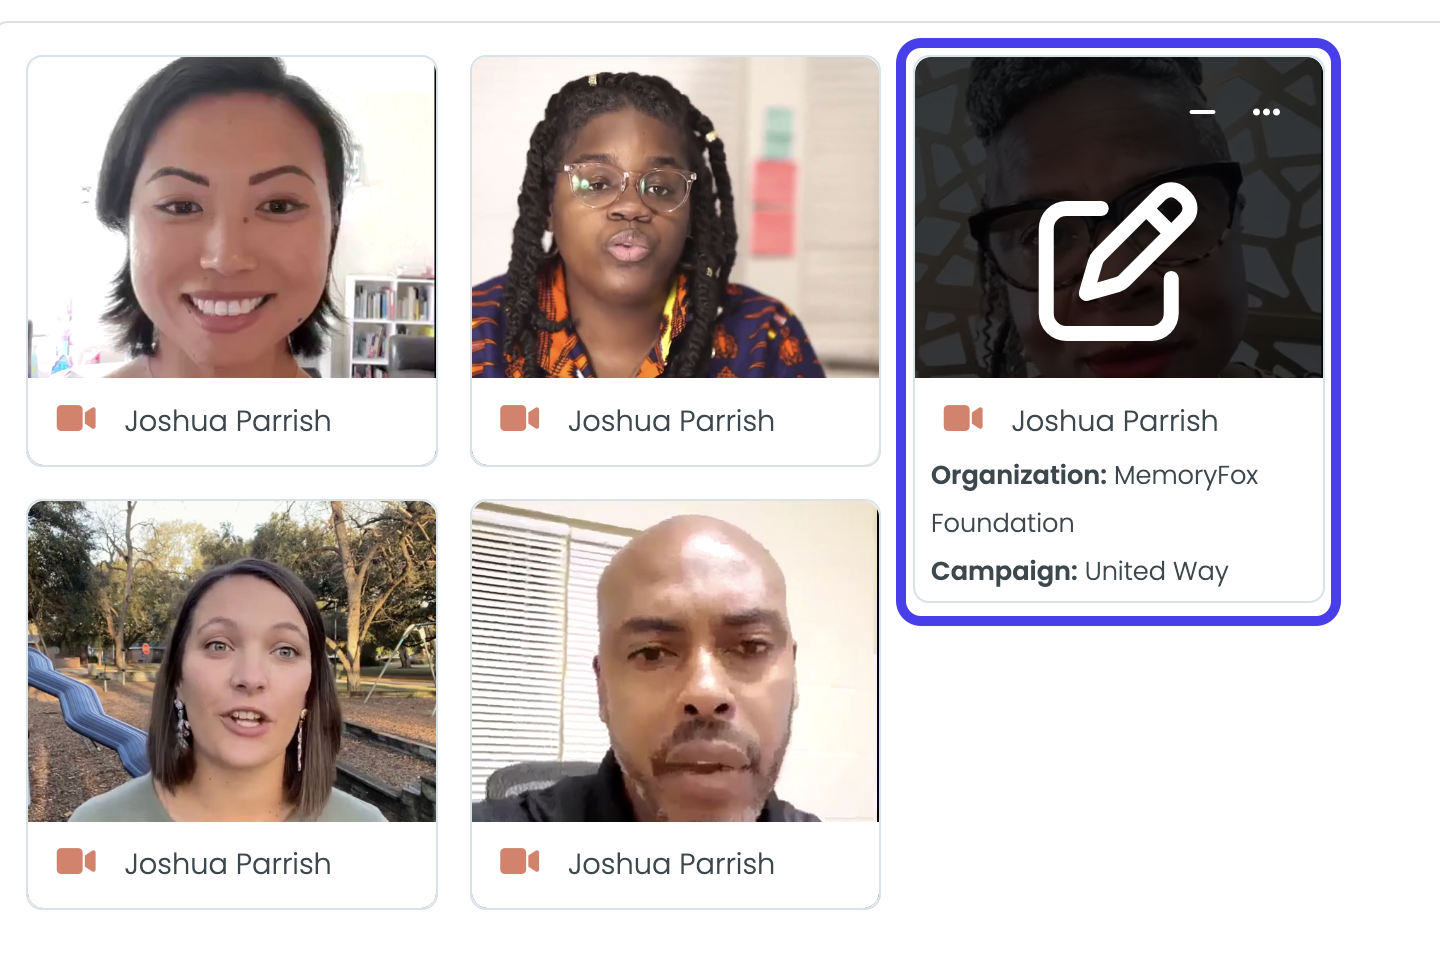
Adjust the order of your content in a specific segment by dragging the piece of content into your desired position. You can also click on the content for additional edits.
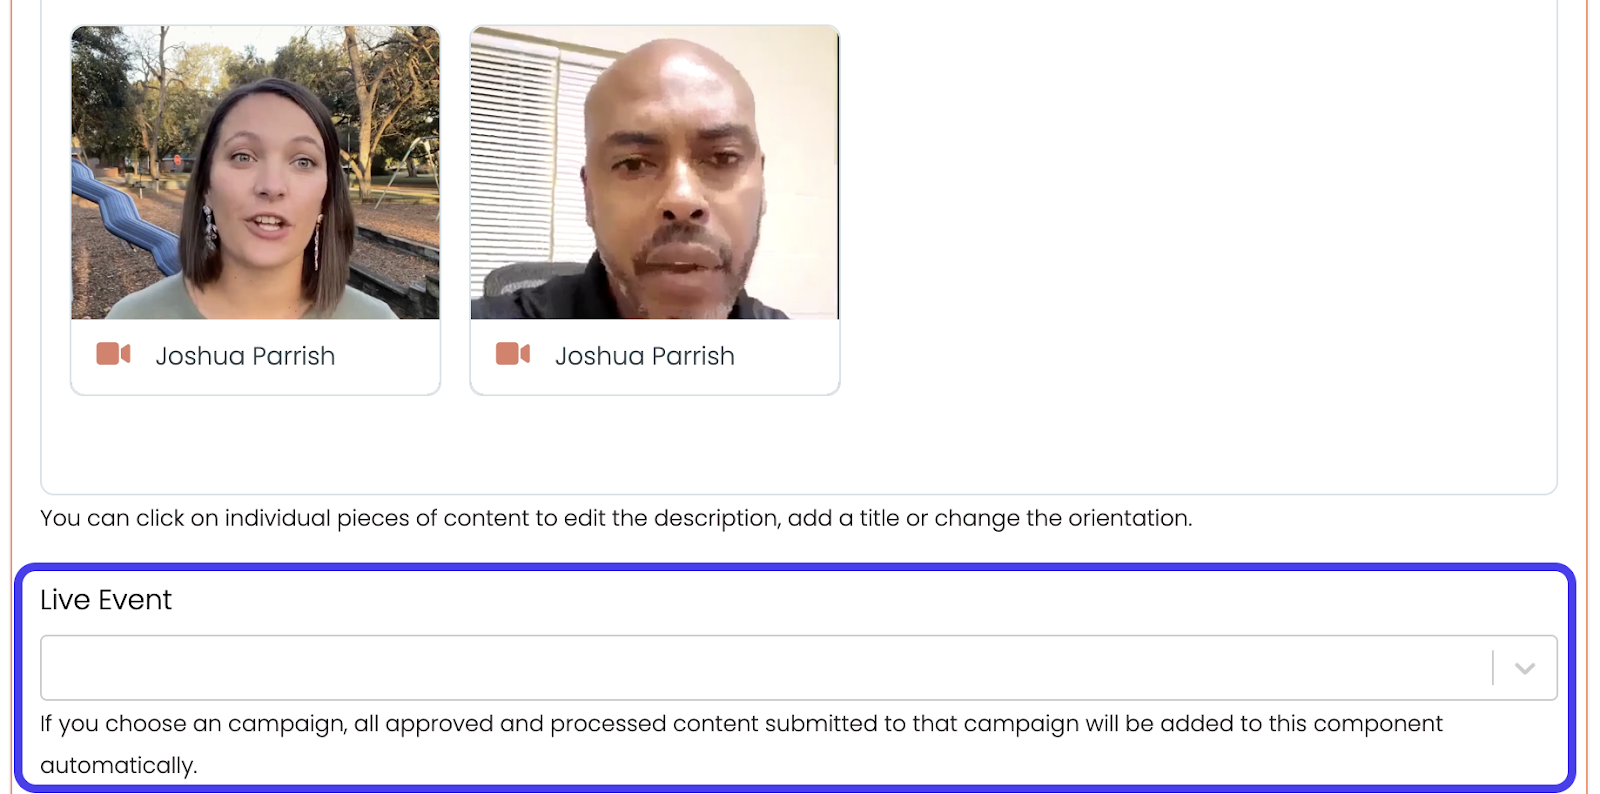
Fox Tip: In a Grid or Tile Segment you can set up a Live Event tied to a specific campaign for dynamic content updates.
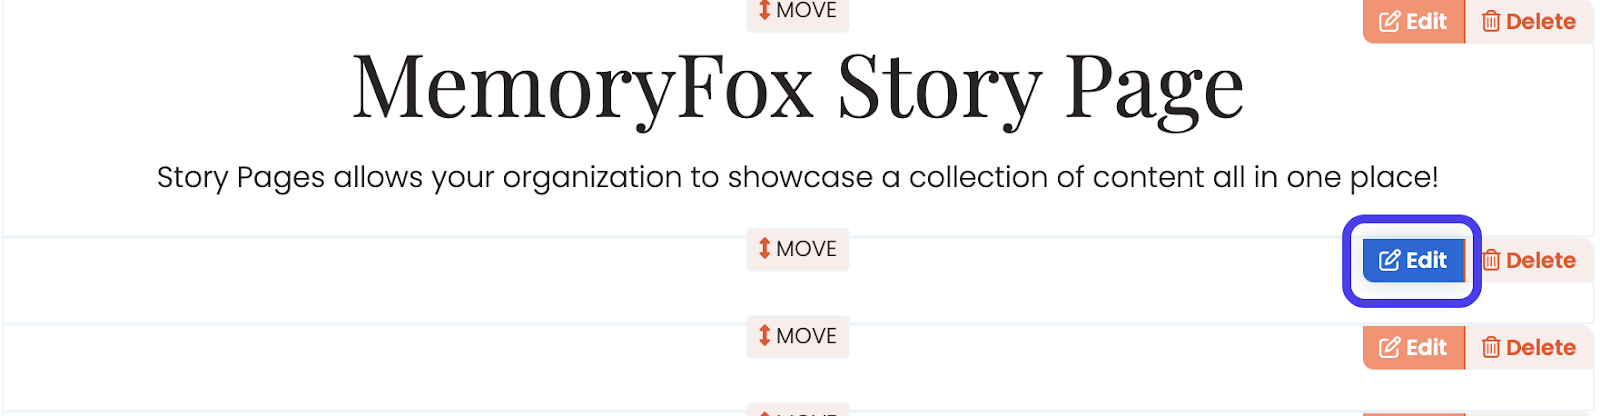
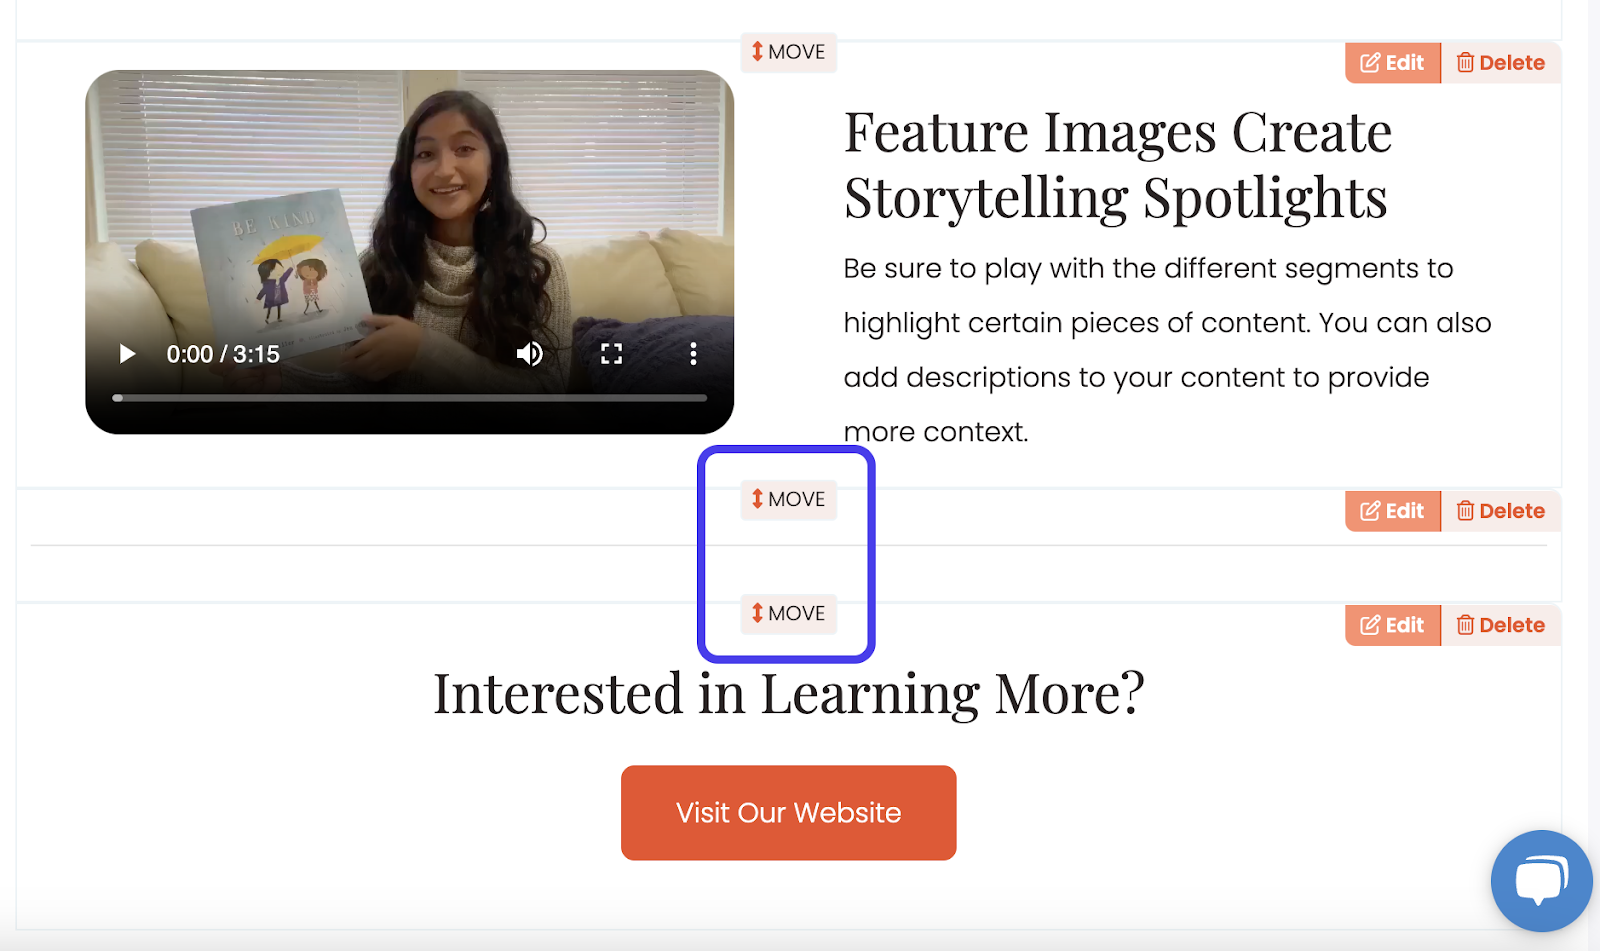
Manage Segments using the top-right buttons in each segment box.
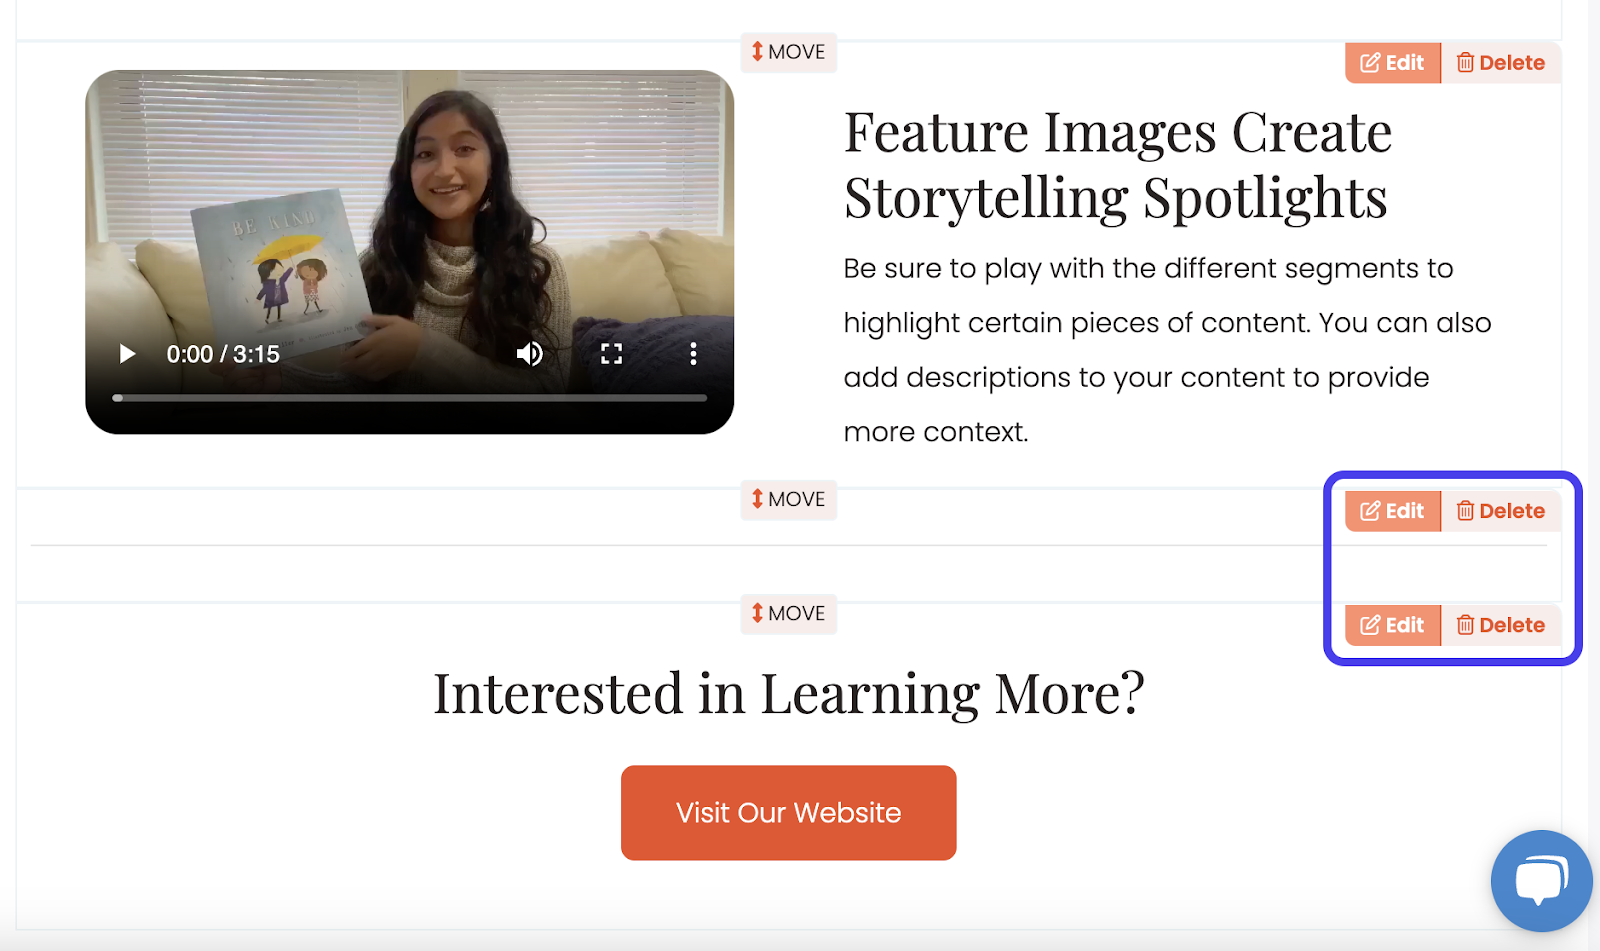
Rearrange your Segments with the Move button located at the top-center in each segment.
Step 5: Add the Finishing Touches through Your Design
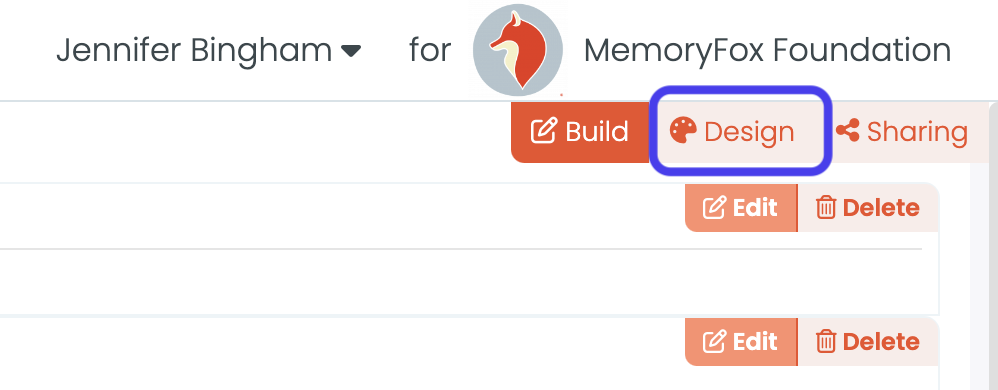
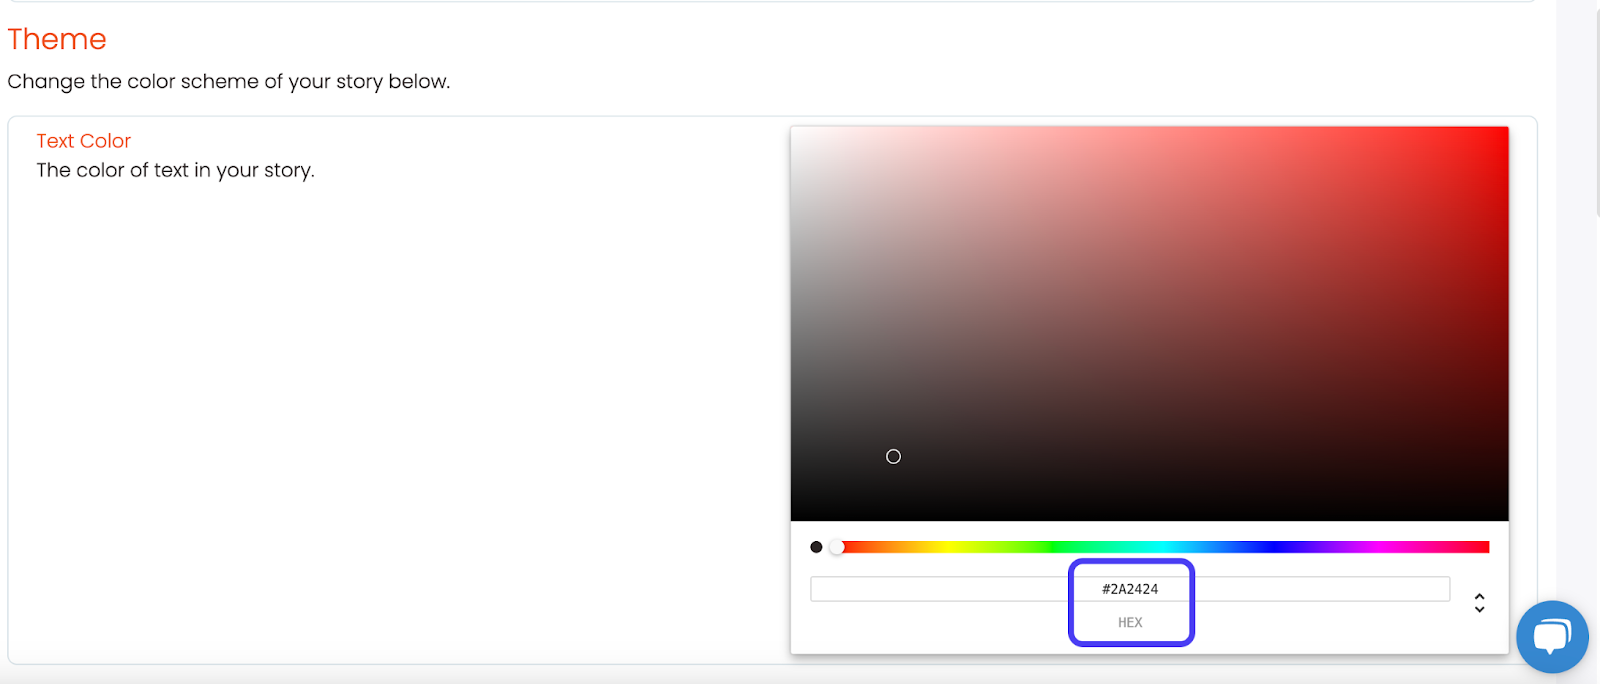
To customize the design of your story page, select the Design tab in the upper right corner of the page.
First, decide on a display: Full Width for website embedding or Narrow View for standalone URLs or social posts.
Then customize your story page to match your brand or event theme by changing the text, header, button, and background colors.
Fox Tip: If you or a member of your team is comfortable with CSS coding, you can use the Advanced options at the bottom of the page to further customize the style of your story page.

Step 6: Publish and Share!
Once you’re all set, you can click the Publish button at the top of the page.

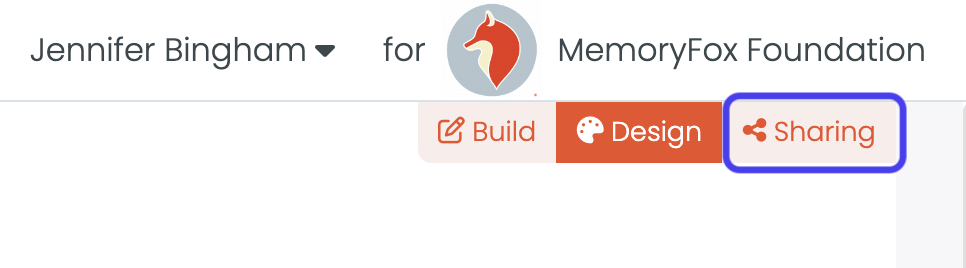
Or, navigate to the Sharing tab and select Publish Story.

Once on the “Sharing” tab, you have several different options to share your story page with your community.
First, you have the option to share your story page directly to your Facebook, Twitter (X), or LinkedIn accounts.

Next, you will see the URL for your story page that you can share with your community.

Lastly, you will find the embed code to embed the story page directly on your website.

And there you go! In just six steps, you’ve crafted a story page that’s bound to captivate your community.